
Low Cost Easy DIY Chicken Coop
Low cost easy DIY chicken coop: how I keep my hens safe without breaking the bank
I’ve raised laying hens for decades, through hot summers, icy winters, and tight budgets. Let me walk you through simple, sturdy coop ideas that won’t scare your wallet or your chickens.
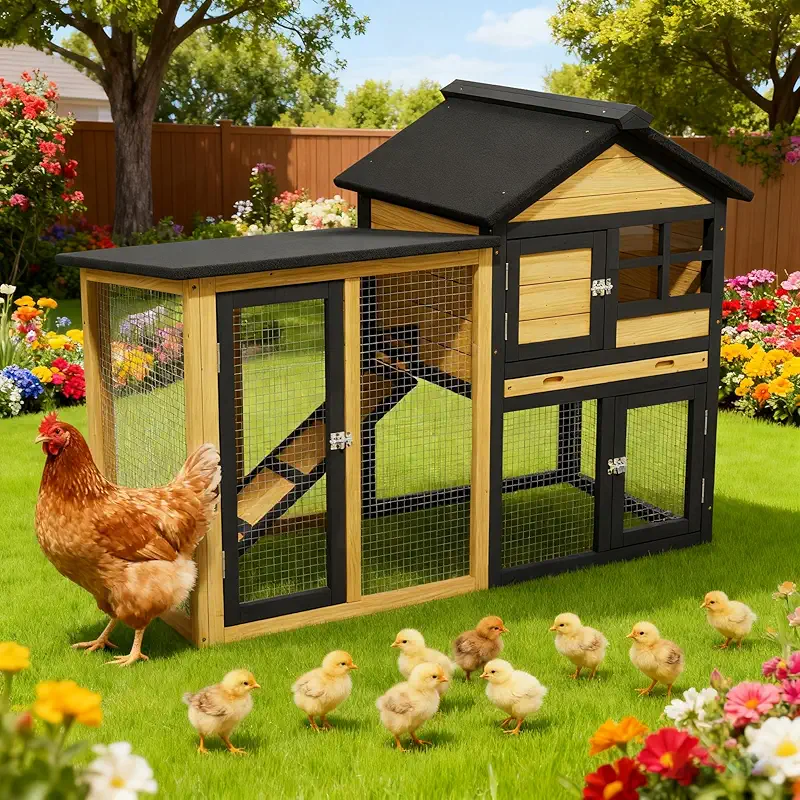
When folks ask me about a low cost easy DIY chicken coop, I always smile. Not because it’s some fancy project, but because my first coop was held together with more hope than nails. I started with a few leftover boards, a busted barn door, and a stubborn idea that my hens deserved better than the back of the shed.
If you’re feeling the same way—wanting fresh eggs, happy hens, and a coop that doesn’t drain the checking account—you’re in good company. You don’t need to be a carpenter. You don’t need a big tractor or a workshop full of tools. You just need a plan, a handful of solid materials, and a bit of patient common sense.
In this guide I’ll share how I think through every low cost coop: where to put it, how to keep it dry, how to stop predators, and how to make chores quick and easy. I’ll also point out where cheap is fine and where cheap turns into regret on a cold, rainy night.
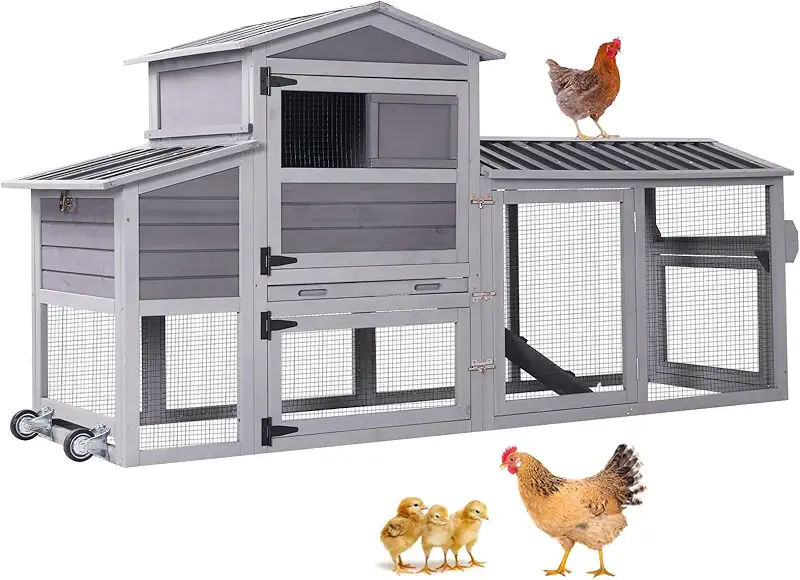
I like to mix my own scrap lumber with ready-made coop kits and hardware. Looking at different styles can really spark ideas for your own low cost easy DIY chicken coop.
What “low cost easy DIY chicken coop” really means
Around here, low cost doesn’t mean flimsy. It means you spend money where it matters and save money where it doesn’t. Easy doesn’t mean lazy either. It means smart, simple, and safe.
The three rules I use for every budget coop
- Dry floor, dry roosts. Wet birds get sick, fast.
- Predator tight, not just pretty. If a raccoon can pull it apart, it will.
- Fast chores. If gathering eggs is a pain, you’ll start skipping things.
If your low cost easy DIY chicken coop hits those three points, the hens don’t care if the walls are made from reclaimed barn wood or last year’s fence boards. They care about safety, comfort, and a place to sleep without getting pooped on from above. (Ask me how I learned that one.)
Choosing a simple layout for your coop
Over the years I’ve tried all kinds of layouts, from fancy walk-in coops to tiny tractor-style coops. The ones I keep coming back to all share one thing: simple rectangles. Straight lines are cheaper and faster to build than curves and angles.
A good starting size
For backyard folks, I usually suggest planning for at least four hens, even if you start with two. Chickens are like potato chips—rarely just one. For a small flock, something around 4x6 feet of coop space with an attached run is easy to manage and easy to build.
Inside that footprint, you only need three main things:
- A raised roost bar they can grip well
- Nesting boxes they can share comfortably
- Space to move without stepping in each other’s mess all day
Keep it rectangular, keep it simple, and put your doors where you can actually reach everything. A low cost easy DIY chicken coop should be friendly to your back, not just your wallet.
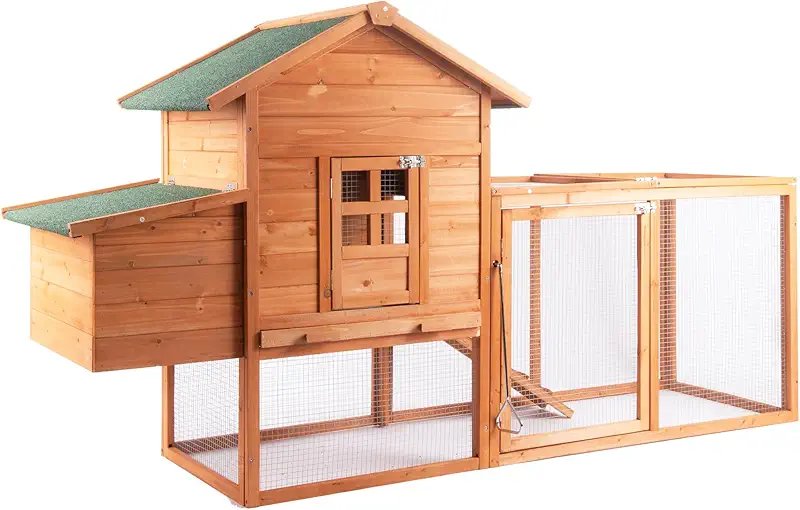
Looking at different pre-made coop designs can give you ideas for door placement, vents, and roost height. I like to borrow the smart parts and build the rest my own way.
Cheap materials that still work hard
The trick to a low cost coop is knowing which materials can be cheap and which can’t. I’ve patched coops with old pallets, metal roofing scraps, and even a retired kitchen cabinet. Some of it worked great. Some of it I tore out the next season while muttering to myself.
Where you can save money
- Wall boards and siding. Old fence boards, pallets, and reclaimed lumber can work fine if they’re not rotten or full of nails.
- Nesting boxes. Buckets, crates, or simple plywood boxes work just as well as fancy store-bought ones.
- Perches. A smooth 2x2 or an old closet rod is usually perfect.
Where you should not go cheap
- Floor and framing. That’s the skeleton. If that fails, the whole coop fails.
- Predator wire. Use real hardware cloth, not chicken wire. Chicken wire keeps chickens in; it does not keep hungry things out.
- Roofing. A leaky roof is just a wet box. Spend a little more here if you must.
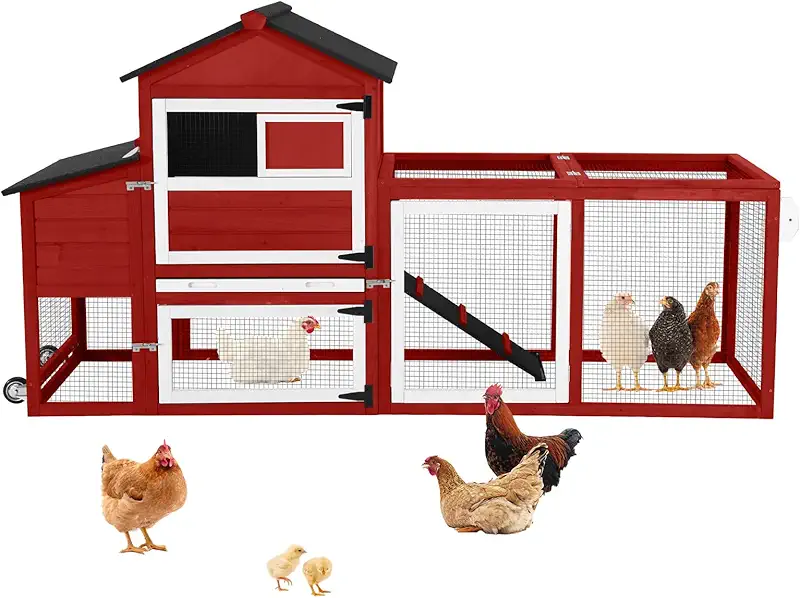
I always tap reclaimed boards on the ground. If they crack easy or crumble on the edge, I keep them for kindling, not coop walls. Cheap is fine. Crumbly is not.
Keeping your hens safe in a budget coop
I live where coyotes sing at night and raccoons solve problems like they went to college. A low cost easy DIY chicken coop still has to stand up to all that. Predators don’t care what you paid. They care how tight you built it.
I remember one summer I thought I was clever using leftover chicken wire around the run. Looked fine. Next morning I found a hole pulled wide open and feathers everywhere. Those raccoons taught me a lesson faster than any book could.
Simple predator-proofing that doesn’t cost a fortune
- Hardware cloth apron: Lay wire flat on the ground around the coop and run, about 12–18 inches out, and cover with dirt or stones. Diggers hate that.
- Solid latches: Use latches that need two motions to open. Raccoons are clever with simple slide bolts.
- Small openings: Gaps bigger than a finger can invite trouble. Nighttime visitors only need a small start.
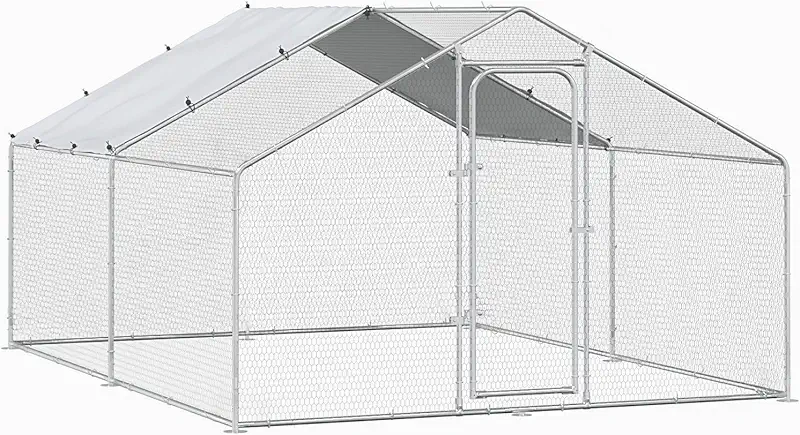
Don’t trust a gap just because your hand can’t fit through it. I’ve seen weasels slip through where a garden hose barely fits. If you’re not sure, cover it with hardware cloth and sleep better.
Ventilation, bedding, and keeping the coop sweet-smelling
New chicken keepers always worry about cold. Old chicken keepers worry about damp, dusty air. The hens can handle cold better than they handle wet, stale air. A well-ventilated low cost easy DIY chicken coop is a lot healthier than a fancy, airtight box.
Easy ways to add good ventilation
- Put vents high on the walls, above the roosts, so drafts don’t hit them directly.
- Cover every vent with hardware cloth, even small ones.
- Use simple hinged flaps or sliders so you can adjust airflow with the seasons.
For bedding, I’ve used everything from straw to pine shavings to dry leaves. Pine shavings are my usual pick for a backyard setup. They’re easy to clean and help keep the smell down, especially if you stir them every few days.
My low-effort cleaning routine
- Scrape the droppings board under the roosts a couple of times a week.
- Stir the bedding to keep it fluffy and dry.
- Full clean-out every month or two, depending on how many birds I’ve got in there.
A smart low cost coop is one you can clean without crawling on your knees. Plan big doors and easy access now, and your future self will thank you.
Nesting boxes and roosts the hens actually like
I once built beautiful nesting boxes with trim and paint, proud as could be. The hens took one look and went to lay in a dusty corner instead. That’s when I remembered: chickens don’t care how it looks on Instagram.
Simple nesting box rules
- One box for every 3–4 hens is plenty. They’ll share.
- Make boxes snug and darker inside; hens like a little privacy.
- Put a low lip on the front to keep bedding and eggs from rolling out.
For roosts, think about their feet. A flat side of a 2x3 or 2x4, smoothed a bit, is just right. Round dowels can be okay, but too narrow and they struggle to grip in winter.
Keep roosts higher than the nesting boxes. If the boxes are higher, hens will sleep in them and you’ll be collecting dirty eggs every morning. Ask me how I know.
Where to put your low cost easy DIY chicken coop
Location has saved me more money than any coupon. Put a cheap coop in a smart spot, and it acts like an expensive one. Put a fancy coop in a bad spot, and you’ll fight mud, wind, and stink all year long.
Things I look for before I build
- High, dry ground. If water stands there after a rain, don’t put your coop there.
- Some natural shade. A bit of afternoon shade keeps hens cooler in the summer.
- Close to water and feed. Long walks in mud with a feed bucket get old fast.
- Within sight of the house, if you can. You’ll notice trouble sooner.
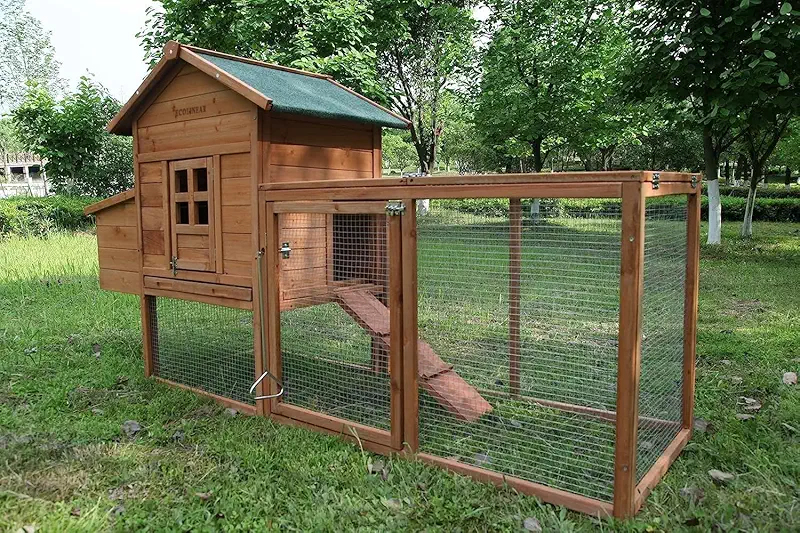
I like to face my coop door away from the worst winds. For me that means turning the opening away from the north and west. Your spot may be different, but the idea is the same: let the coop breathe without letting the weather slap your birds in the face.
Saving time on chores with a smart budget design
One thing I’ve learned after a lot of sore mornings: if daily chores are a hassle, people start cutting corners. A low cost easy DIY chicken coop should make your life simpler, not give you a daily obstacle course.
Little design choices that save big time
- Big, wide doors. Big enough for a shovel and a feed bucket side by side.
- External access to nesting boxes. Makes egg collecting easier, especially in rain or snow.
- Feed and water just outside the door or under a covered run, so you’re not hauling things across the yard.
When I’m planning a new coop, I picture the worst morning of the year—cold rain, blowing wind, boots half laced. If I can handle my chores fast and easy on that morning, then the design is good enough.
Raising laying hens in a low cost DIY coop
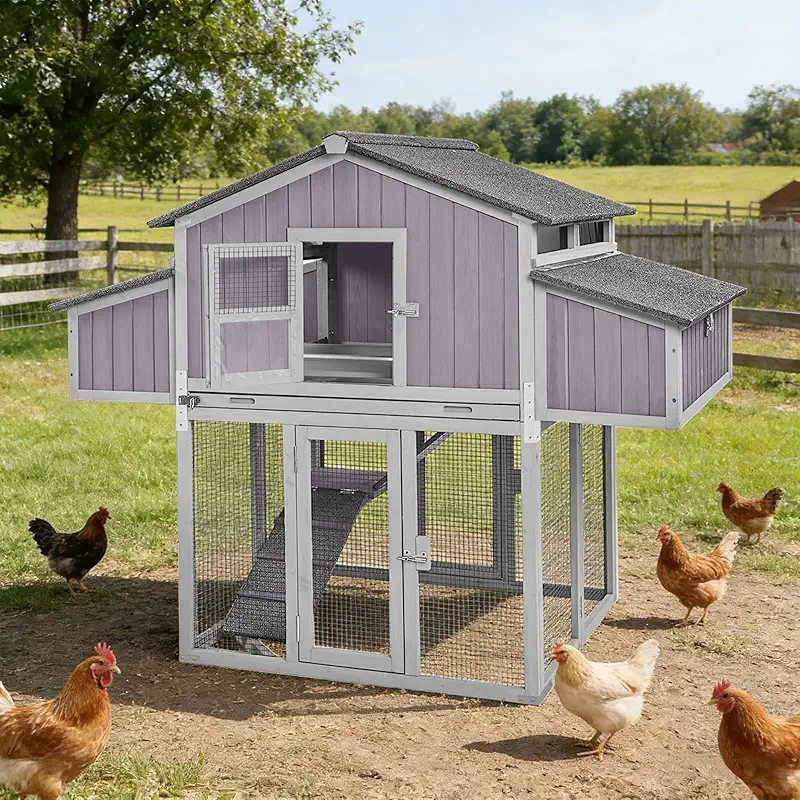
A simple coop can still turn out beautiful brown eggs day after day. Your hens don’t need luxury; they need consistency. Same feed, same clean water, same safe place to roost and lay.
I like to keep my layers on a good quality layer ration, with crushed oyster shell on the side. Scraps from the kitchen are fine in moderation, but the steady nutrition from a proper feed really shows up in the egg basket.
Give them enough space to stretch, scratch, and dust bathe. If your run is small, you can toss in leaves, straw, or grass clippings (not treated with anything) to give them something to work through. A busy hen is a happy hen, and happy hens lay better.
When the eggs slow down, I check three things first: light, feed, and stress. Short winter days, poor diet, or constant predator pressure will all show up in your egg count long before they show up anywhere else.
FAQ: Low cost easy DIY chicken coop
It depends on what you already have on hand. If you’ve got scrap lumber, old roofing, and a few windows, you might get by with a couple hundred dollars for hardware cloth, screws, and roofing odds and ends. If you’re starting from nothing, a simple, safe coop for a small flock usually runs somewhere between the cost of a cheap weekend trip and a budget refrigerator. The important part is that you put the money into structure, roof, and predator-proof wire first.
Yes, you can, and I have. Just be picky. Use pallets that are dry, solid, and not treated with anything questionable. I usually take them apart and use the boards rather than build with whole pallets. That makes it easier to insulate gaps and keep drafts where I want them—high up, not at chicken level. Pallet wood is great for walls and trim, but I still use stronger lumber for framing and floors.
For standard laying hens, I like to see about 4 square feet of indoor coop space per bird and at least 8–10 square feet of outdoor run per bird. You’ll see folks squeeze them tighter, but crowded birds get stressed, pick at each other, and are more likely to get sick. If you think you’ll want four hens, I’d plan space for six. Chickens have a way of multiplying, especially once the neighbors taste your eggs.
You don’t have to have it, but it can make life easier. I ran extension cords the first few years for a water heater in winter and a single light. These days there are simple solar setups and battery lights that work just fine. If you live where winters get cold, keeping water from freezing becomes a bigger chore than building the coop. A safe way to add a little heat to the water dish is worth thinking about.
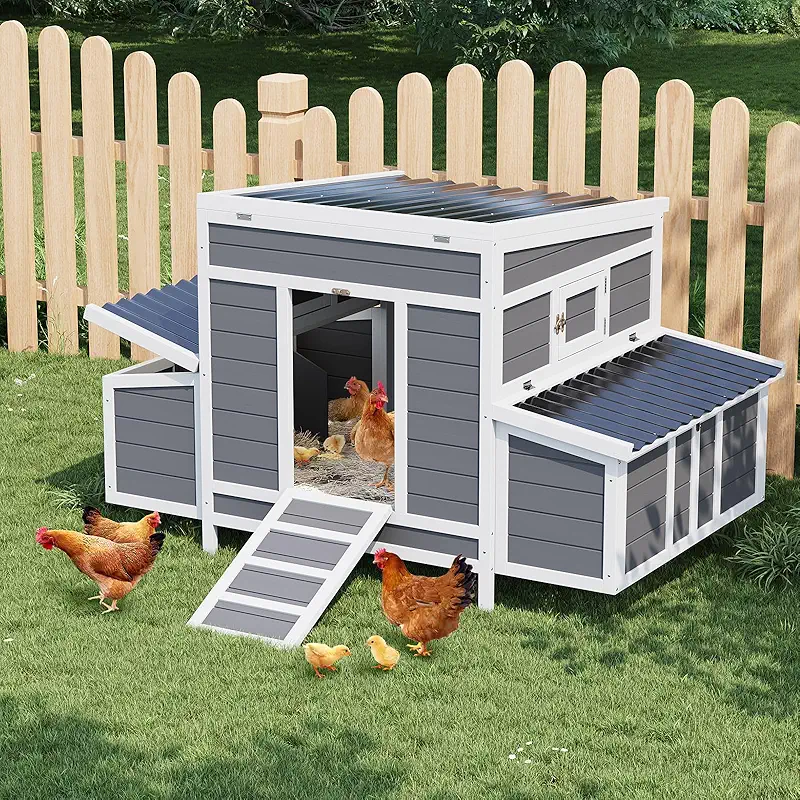
It can be better. The fancy paint and cute windows on some ready-made coops don’t always mean they’ll last through real weather. I like to study those designs for ideas, then build mine a bit sturdier. A low cost easy DIY chicken coop that fits your yard, your climate, and your daily routine will beat a one-size-fits-all kit almost every time. That said, some folks start with a simple kit and then reinforce it or add onto it, which is a perfectly good path too.
If you’re ready to turn all these ideas into a cozy home for your flock, take a slow look through different coop styles and see what feels right for your yard and your birds.
Show me more coops