
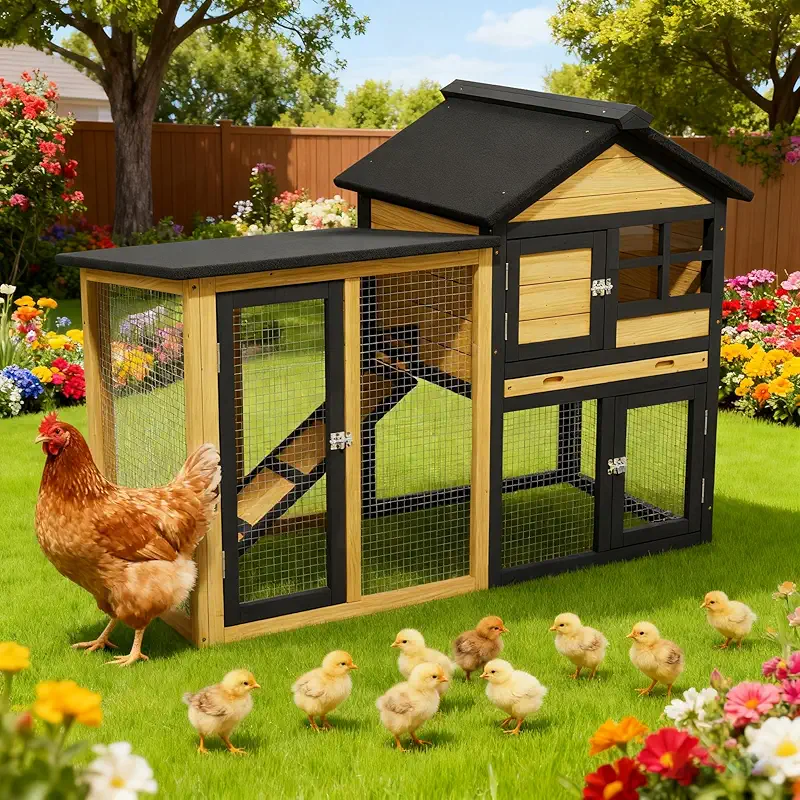
Cheap doesn’t mean flimsy – it means smart
When folks ask me about low cost chicken coops, I always smile. I started with a crooked old shed, half the boards didn’t match, and the door stuck every rainy morning. But the hens laid just fine, because I paid attention to the things that matter: dryness, fresh air, and safety from critters.
Over the years I’ve tried all sorts of coops: homemade, second‑hand, and store‑bought budget models. Some were solid keepers; some were what I politely call “learning experiences.” If you’re working with a tight budget, you don’t need the prettiest coop on the internet. You just need one that works for the birds and doesn’t turn into kindling after one storm.
What really matters in a low cost coop
Let’s walk through the basics I look for whenever I’m checking out budget coops. These are the same points I’d tell my own kids if they were setting up their first flock.
1. The frame: bones of the coop
I don’t care how cute a coop is in the pictures. I grab a corner, give it a little shake, and listen. If it rattles like a cheap lawn chair, I move on. Thin, wobbly framing won’t last through a good stiff wind.
On low cost chicken coops, you’ll often see lighter wood or thinner metal. That can be fine, as long as the main joints are braced and the coop doesn’t twist when you push on it. For a small backyard flock, you don’t need barn‑grade timber, but you do need something that stands up straight.
- Give priority to solid corners and tight joints.
- Check that doors hang square and close cleanly.
- A raised floor helps wood last longer in wet climates.
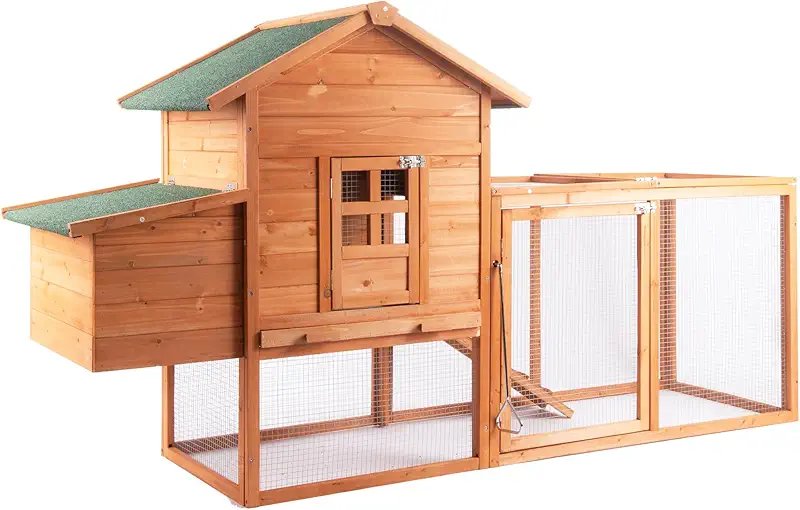
2. Roof and rain: keeping hens dry
Wet chickens are unhappy chickens, and unhappy chickens don’t lay well. I learned that fast my first winter, when a leaky roof dripped right onto the roost. Hens gave me the stink eye for a week.
On a budget coop, the roof is where I look next. I like:
- A decent overhang so water runs off away from the walls.
- Panels that overlap, not just butt‑up joints where rain sneaks in.
- Some pitch to the roof so snow and water don’t just sit up there.
If you’re handy with a drill, one of the easiest upgrades for a cheap coop is adding an extra layer of roofing or a strip of waterproof tape along seams. Costs a few dollars and can save you a lot of cussing in a rainstorm.
3. Ventilation: fresh air without drafts
Here’s something beginners often miss. Chickens breathe out a lot of moisture. If the air inside the coop can’t move, that dampness sits on their lungs and combs, and you’ll see coughing and frostbite when it gets cold.
Good low cost chicken coops will have vents up high, near the roofline, or wire‑covered openings near the top of the walls. Warm, moist air rises, finds those openings, and drifts out slowly. Fresh air slips in lower down. That’s what you want: slow, steady air, not a howling breeze across the roost.
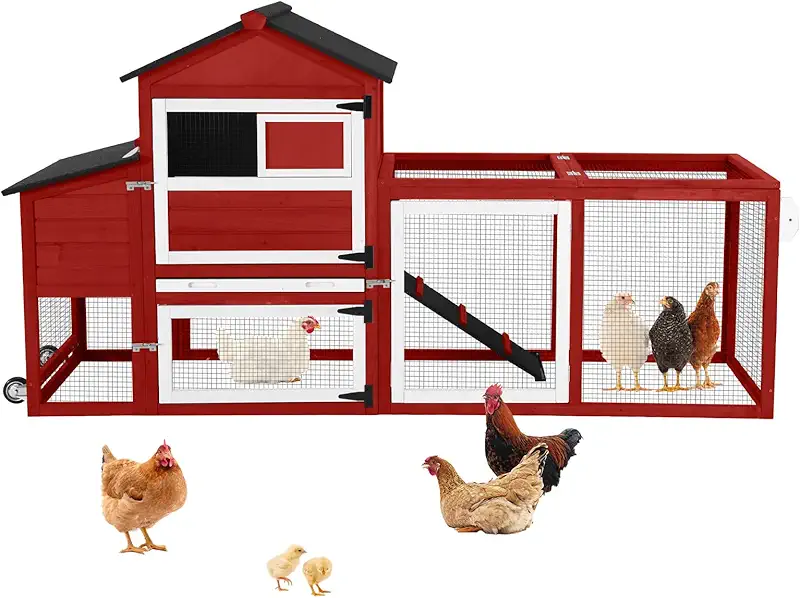
4. Predator protection: where cheap can cost you
Predators don’t care how much you paid for your coop. Raccoons will work a latch like a safecracker. Foxes will dig like little backhoes. I’ve even had a possum chew right through a soft board near the floor.
On a low cost coop, hardware cloth is one of the biggest upgrades you can make. Thin “chicken wire” keeps birds in, but it doesn’t keep determined critters out. If I see flimsy wire, I plan on wrapping the lower few feet of the run with better mesh as soon as I can.
- Use 1/2" hardware cloth around the lower edges and any vents.
- Make sure doors have solid latches, not just little hook‑and‑eye loops.
- If you’ve got diggers, lay mesh flat on the ground around the run like a skirt.
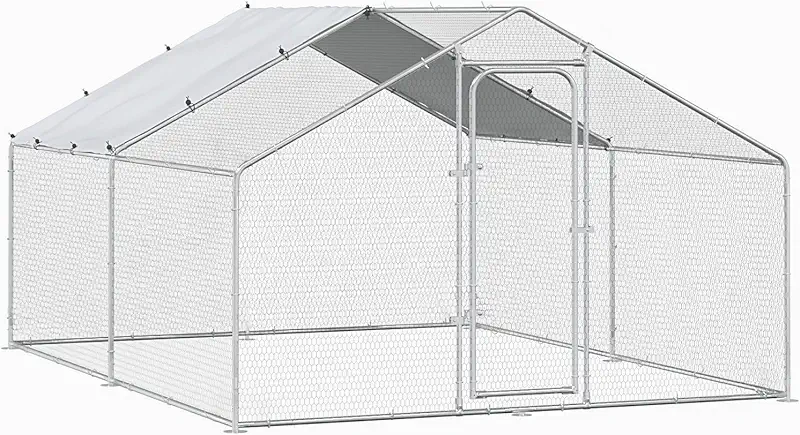
How many chickens really fit? (Ignore the pretty pictures)
One thing that bugs me about some low cost chicken coops is the way they list capacity. If a box says “up to 8 chickens,” I figure it’s comfortable for 4 or maybe 5, depending on your climate and how much time they spend outside.
As a rule of thumb for backyard layers:
- Coop floor: about 3–4 square feet per hen.
- Run space: 8–10 square feet per hen (more if you can swing it).
- Roost bar: around 8–10 inches per hen.
Crowded birds get cranky. They peck, bully, and stop laying. A “bargain” coop that’s too tight ends up costing you in feed and vet bills. So if you’re looking at a small low cost unit, be honest with yourself about flock size. It’s better to start smaller with 3–4 birds than cram in 8 and deal with feathery drama.
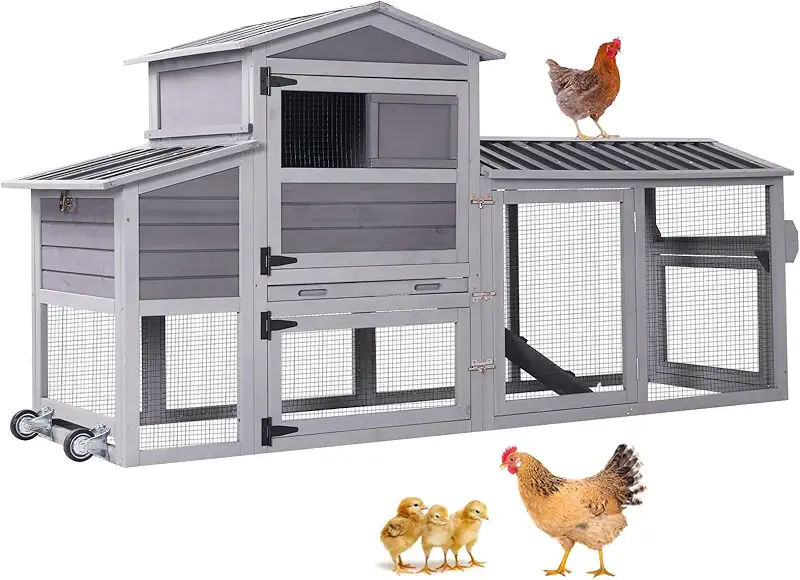
Little upgrades that make cheap coops work better
Most budget coops are like a basic pickup truck. They’ll do the job, but a few small tweaks can make life easier for both you and the birds. Here are upgrades I’ve done over and over.
Stronger latches and hinges
The hardware that comes on low cost chicken coops is often the first thing to give out. A couple of sturdy gate latches and some better hinges don’t cost much, and they save you from chasing hens at dusk because the door popped open.
Extra screws and braces
I’ve opened boxes that looked like they were fastened with wishful thinking and two screws. I keep a coffee can of extras in the barn and usually add a handful around stress points: corners, roof edges, and the front of the nest box.
Floor protection
Moisture and manure are hard on bare wood. A cheap trick is to paint the floor and lower walls with an outdoor sealant or lay down a sheet of linoleum scrap before you add bedding. It makes cleaning faster and stretches the life of the coop.
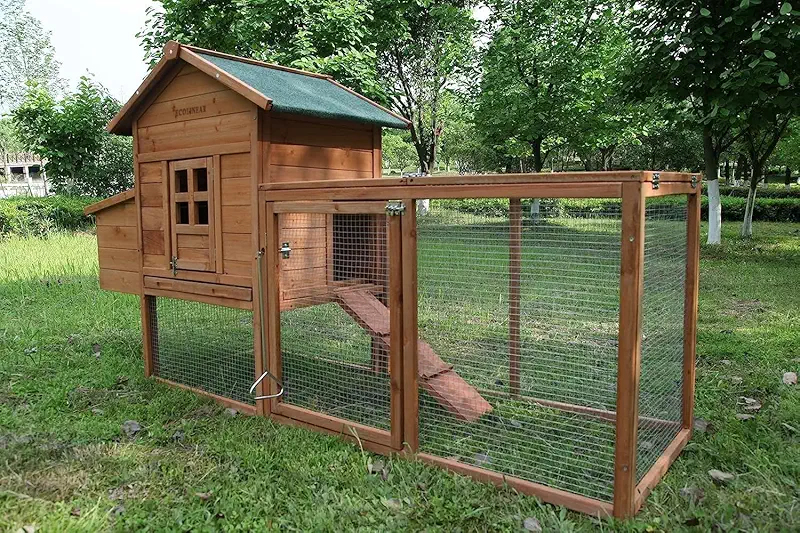
Daily life in a low cost coop: keeping hens happy
Now, let’s talk about how living with a budget coop actually feels. I’m not just thinking about the hens here. I’m thinking about you, in your boots, early in the morning, half awake and trying not to spill the feed bucket.
Easy access for eggs and cleaning
One of my first coops had a low door I had to crawl through on my knees. I thought I got a bargain, but after a month of banging my head on the frame, I would’ve paid good money just for another six inches of height.
When you look at low cost chicken coops, picture yourself:
- Reaching into nest boxes without twisting your back.
- Scraping out old bedding with a shovel or dustpan.
- Refilling waterers without knocking things over.
A big clean‑out door or removable tray makes a world of difference. If the coop has neither, think about whether you can add your own panel or slide‑out floor later.
Roosts and nest boxes that make sense
Chickens like to sleep up high, and they like to lay in dark, quiet corners. If the roost is too low or the nest boxes are brighter than a front porch in July, you’ll find eggs in the weirdest places. I’ve stepped on my share over the years.
On budget coops, the roosts are sometimes just a narrow stick. I prefer:
- A roost about the width of a 2x3, with rounded edges so feet rest flat.
- Roosts higher than the nest boxes, so hens sleep where they’re supposed to.
- One nest for every 3–4 hens, with a little lip to keep bedding and eggs from rolling out.
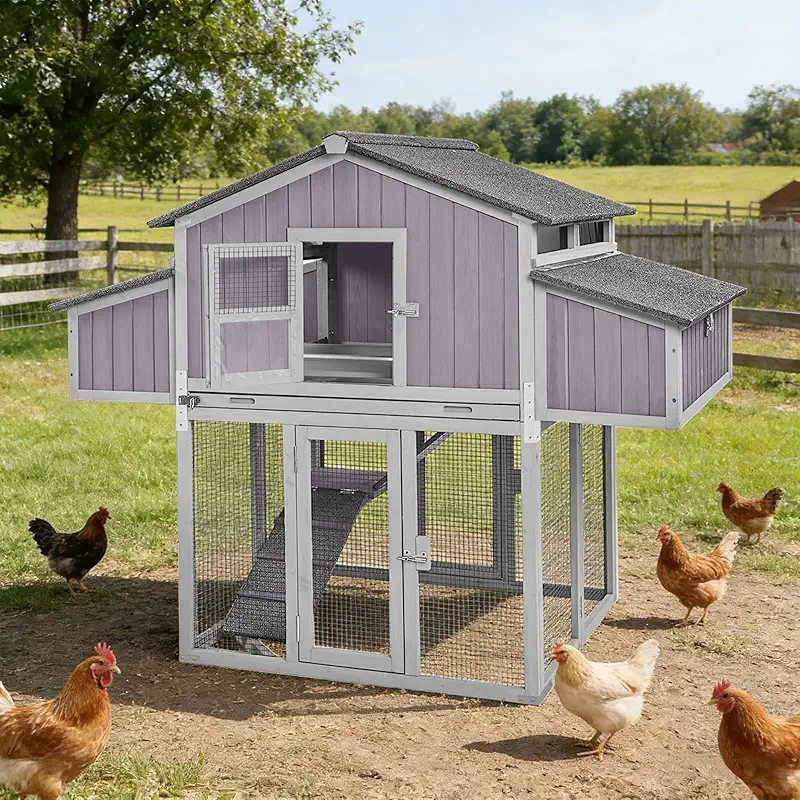
My “starter flock” story (and what I’d do differently today)
When I started, I bought the prettiest little coop I could afford. Red paint, white trim, even a tiny window with crossbars. Looked like a toy barn. I squeezed six hens into a space suited for four, and I’ll be honest, those girls were saints for putting up with me.
First summer, I learned the hard way that:
- Shade matters. That fancy roof turned it into a little oven at noon.
- Thin wire invites every possum in the county.
- Cleaning is no fun if you can’t reach the back corner.
Nowadays, when I look at low cost chicken coops, I care a lot less about the paint job and a lot more about simple, sensible details. Give me:
- Enough room for the birds I actually have.
- Doors and latches that don’t fight me every morning.
- Decent wood, decent wire, and a roof that doesn’t leak.
If you keep those three things in mind, you can start on a modest budget and still end up with a coop you’re not embarrassed to show the neighbors.
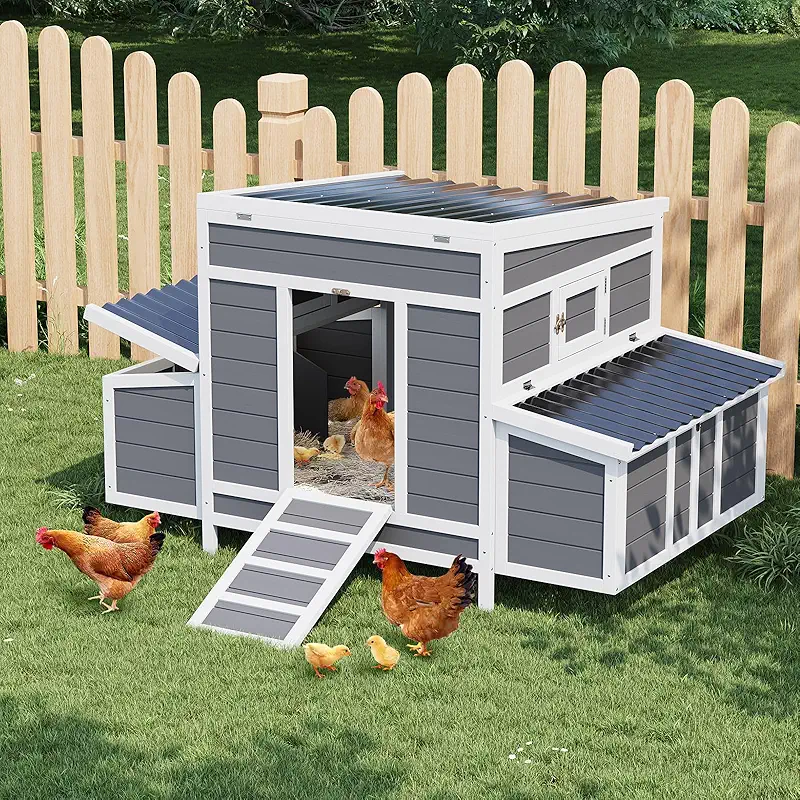
FAQ about low cost chicken coops
If you’ve read this far, you’re serious about giving your hens a good home, even if you’re watching your dollars. That’s exactly the kind of keeper birds do well with.
Let me compare options