
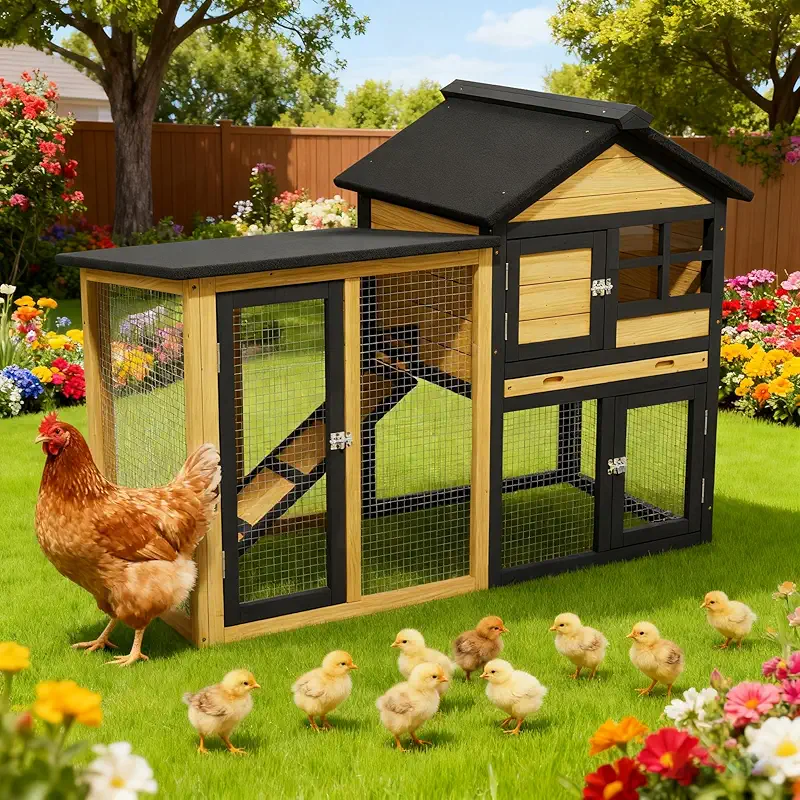
Start With The Right Spot
The first lesson I learned about how to setup a chicken coop came the hard way. Years ago, I set my coop at the bottom of a slight hill because it was “out of the way.” First big rain came, and the whole run turned into a muddy soup. The hens looked at me like I’d personally offended them. So, rule number one: pick a dry, slightly raised area.
When you choose a spot for your coop, think about three things: drainage, shade, and your own feet. You’ll be walking to that coop every single day, in all kinds of weather. Don’t put it so far away that you dread checking on your birds, or in a spot that turns into a swamp every spring.
Sun, Wind, And Neighbors
Chickens enjoy some sun, but they don’t love baking in it all day. Aim for a location where the coop or run gets morning sun and some afternoon shade. If you’ve got trees on the east or south side, that’s usually a sweet spot.
Think about wind, too. In cold climates, I like the coop with the back toward the prevailing wind and the main openings facing away from the strongest gusts. That way the hens stay cozy but still get fresh air.
And then there are the neighbors. A small backyard flock isn’t loud, but roosters can be… enthusiastic. If you’re in town, double-check the rules and keep coops clean to avoid smells. A clean, well‑setup coop doesn’t make enemies.
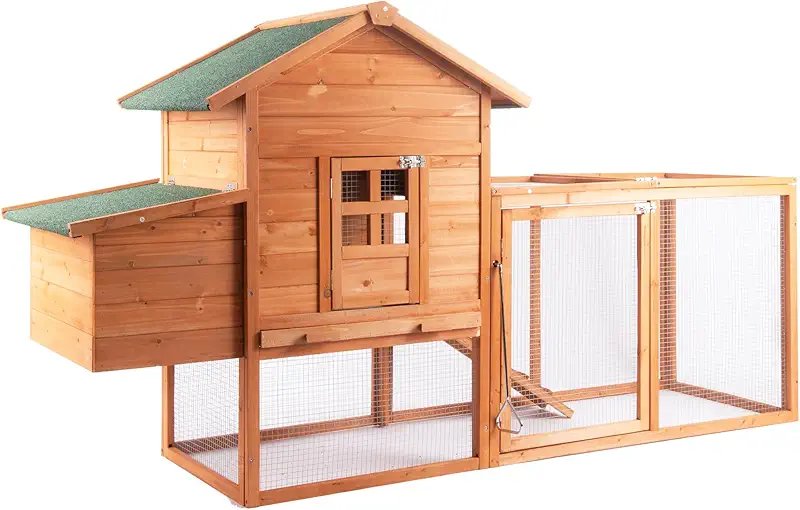
How Much Space Do Your Hens Need?
If you remember nothing else about how to setup a chicken coop, remember this: crowded hens cause trouble. They peck each other, fight, break eggs, and generally act like teenagers stuck in a tiny car on a long road trip.
Here’s a simple rule of thumb I use with my flocks:
- Inside the coop: at least 3–4 square feet per hen.
- In the run: at least 8–10 square feet per hen, more if you can spare it.
If your birds will free‑range most days, you can lean a little smaller on the run, but never skimp inside the coop. Once a hen starts a bad pecking habit from crowding, it’s a pain to break it.
Quick space checklist
- Count your birds, then add 1–2 more in case you “accidentally” bring more home later.
- Plan at least 3–4 sq ft per bird inside.
- Plan at least 8–10 sq ft per bird in the run.
- Leave room to stand up comfortably and walk in for cleaning.
If you feel like you’re right on the edge with space, go a size up. I’ve never met a chicken keeper who wished they’d built smaller. But I know a whole lot who looked at their flock one year later and thought, “Well, I guess I need another coop.”
Roosts: Where Hens Sleep Safely
Chickens like to sleep up off the ground. It makes them feel safe, keeps them cleaner, and helps with airflow. Roosts are those bars they perch on at night. Set them up right, and your hens will line up every evening like it’s church on Sunday.
Good Roost Height And Shape
I like roosts about 18–24 inches off the floor for standard hens. Higher is fine if you have a ramp and no heavy breeds with clumsy landings. For shape, a 2x4 laid flat works really well. Hens don’t wrap their feet like parrots; they like to sit with their feet flat and their feathers covering their toes in colder weather.
- Plan 8–10 inches of roost space per hen.
- Keep roosts higher than nesting boxes, or your hens will sleep in the boxes and mess up your eggs.
- Leave at least 12 inches between parallel roost bars so they’re not pooping on each other.
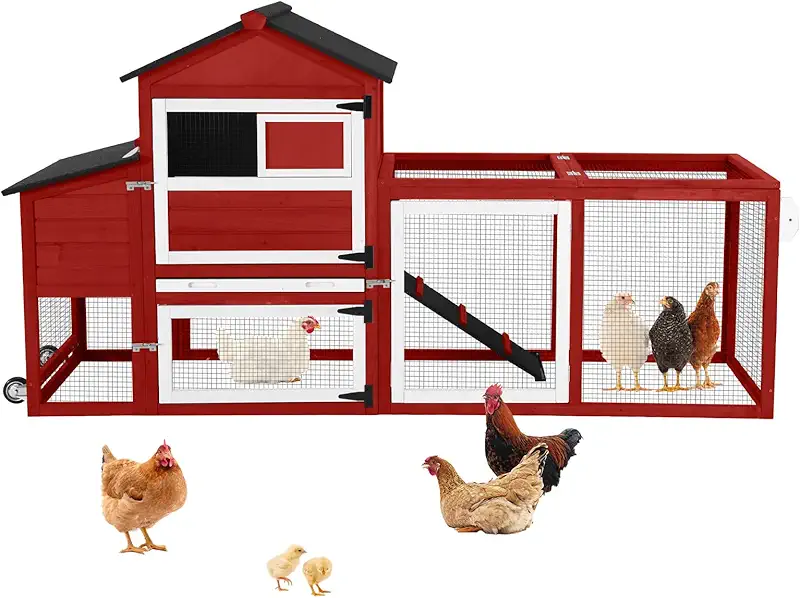
Nesting Boxes: Where The Magic Happens
When you’re learning how to setup a chicken coop, nesting boxes are where folks overthink things. Your hens are not looking for a luxury condo. They just want a quiet, dim little spot that feels safe.
A good guideline is one nesting box for every 3–4 hens. Yes, they will still all pick the same favorite box and line up for it like it’s the bathroom at a gas station, but the extra boxes help when you add birds or have a broody hen.
Setting Up Nesting Boxes
- Place the boxes lower than the roosts so they don’t sleep in them.
- Keep them in a slightly darker, quieter corner of the coop.
- Fill with 2–3 inches of straw, shavings, or chopped hay.
- Use fake eggs or golf balls to show new layers where to lay.
I like boxes around 12x12 inches for standard hens. Bigger breeds might need a little more room. My girls don’t mind if the boxes are simple wood, plastic crates, or repurposed buckets turned sideways, as long as it’s dry and cozy.
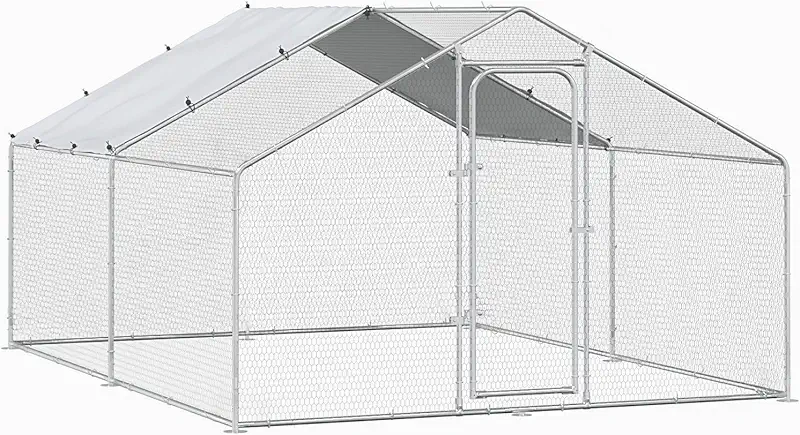
Ventilation: Fresh Air Without Drafts
If I could ride around the countryside and fix just one thing in every beginner coop, it would be ventilation. Poor airflow leads to moisture, ammonia smell, frostbite in winter, and all kinds of health issues.
The trick with learning how to setup a chicken coop is this: plenty of air up high, but no cold wind blowing directly on the birds.
- Add vents or windows near the roof line.
- Cover openings with hardware cloth to keep out predators.
- Make sure moist air can escape, especially above the roosts.
- In hot areas, consider big screened openings with shutters.
On my place, I have adjustable vents I can close partway in winter and open wide in summer. I’d rather have a bit too much ventilation and adjust bedding than have my hens breathing damp, stale air all winter long.
Bedding And Cleanliness: Keeping Things Dry
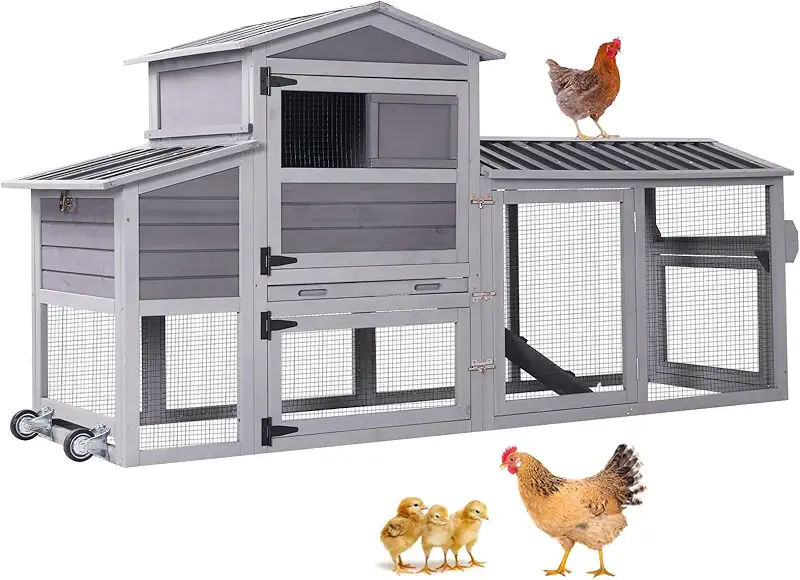
Inside the coop, I’m more worried about moisture than I am about the cold. Dry hens are healthy hens. When you’re figuring out how to setup a chicken coop, choose bedding that absorbs moisture and is easy to manage.
Common Bedding Options
- Pine shavings: Soft, absorbent, easy to clean. A favorite of many keepers.
- Straw: Traditional, but can mat up if it gets wet. Works well if you keep it dry and fluffed.
- Sand: Some folks like it in dry climates; it can work like a big litter box, but it’s heavy to clean.
In my main coop I use pine shavings on the floor and straw in the nesting boxes. I stir things up every few days and add a fresh layer as needed. Once it stops smelling like clean shavings and starts smelling like a chicken house, it’s time to muck out.
Feed, Water, And Daily Flow
How you setup feeders and waterers can make or break your morning routine. I like to think of the coop and run as a little workflow.
- Keep water in the run most of the time to avoid extra moisture inside the coop.
- Hang feeders at about chest height of the birds to reduce waste and scratching.
- Leave yourself a clear path to carry feed buckets in and out without tripping.
I always make sure I can reach everything without crawling. One coop years ago had a low doorway. I banged my head on that thing so many mornings I finally raised the whole entry. Plan for your own comfort; future‑you will be grateful when it’s snowing sideways and you still have eggs to collect.
Predator Protection: Locking The Door At Night
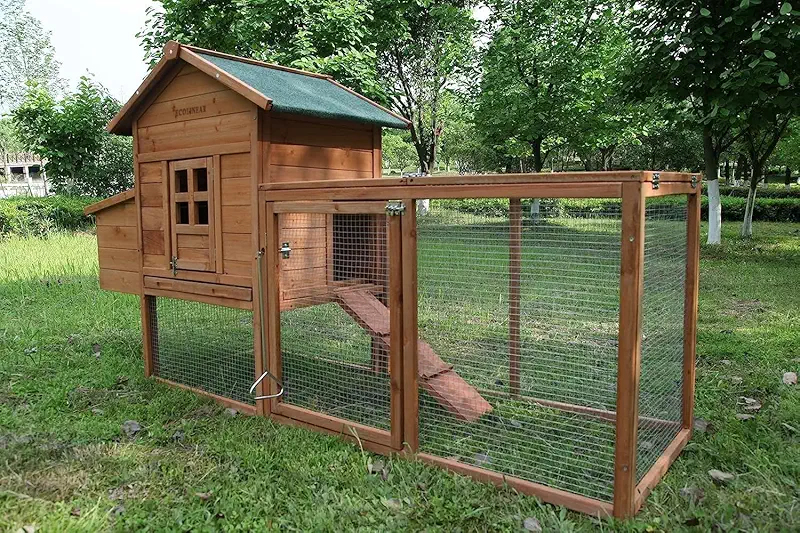
Out here, everything likes chicken. Raccoons, foxes, hawks, neighborhood dogs—you name it. When you’re learning how to setup a chicken coop, imagine you’re building a tiny fortress with feathered residents.
Basic Predator-Proofing Steps
- Use hardware cloth, not chicken wire, for openings. Chicken wire keeps chickens in; it doesn’t keep serious predators out.
- Bury wire or apron fencing 12–18 inches around the run to stop digging.
- Make sure every door has solid latches. Raccoons are little fuzzy burglars with hands.
- Close the coop every evening or use an automatic door.
The first time I lost a hen to a raccoon, I walked the whole coop by flashlight and found one rotten board I’d been “meaning to replace.” Don’t be like me that week. When in doubt, overbuild the safety parts.
First Day Setup: Step‑By‑Step
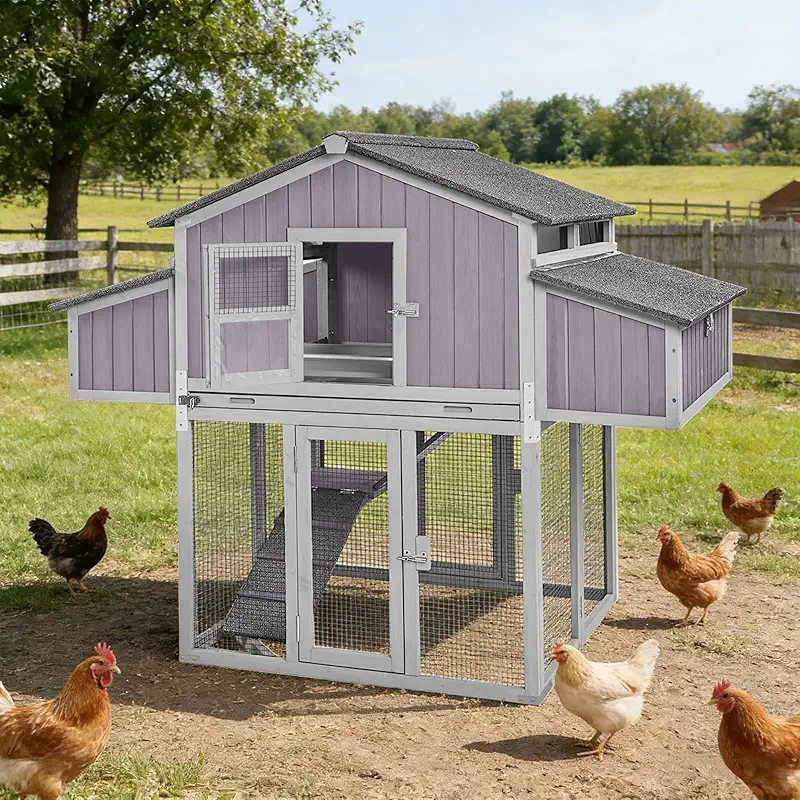
Let’s pull it all together. Here’s how I’d walk you through setting up a new coop, right from the start:
- Pick the site. High, dry ground with some shade and room to expand.
- Place or build the coop. Make sure you can stand inside or at least reach every corner.
- Install roosts. Strong, flat 2x4s, higher than the nesting boxes.
- Add nesting boxes. One per 3–4 hens, quiet and slightly darker spot.
- Cut and secure vents. Up high, covered with hardware cloth.
- Spread bedding. A few inches of dry shavings or straw on the floor and in boxes.
- Set feeders and waterers. Easy for you to reach, not right under roosts.
- Secure the run. Wire buried or apron‑style, tight latches, no big gaps.
- Test the routine. Pretend it’s a rainy morning and walk through collecting eggs and feeding, see what annoys you.
Once your birds move in, you’ll notice little things you want to tweak. That’s normal. Every coop ends up with the farmer’s personality stamped on it—plus a little dust and a few feathers in the corners.
Daily, Weekly, And Seasonal Habits
Knowing how to setup a chicken coop is only half of it; the other half is how you care for it over time.
Daily
- Check feed and water.
- Collect eggs (morning and evening if you can).
- Take a quick sniff and look for leaks, drafts, or droppings building up.
Weekly
- Stir bedding or add fresh on top.
- Wipe poop off roosts.
- Rake up wet spots in the run and add fresh material.
Seasonal
- Before winter, check for drafts at bird level and fix leaks.
- Before summer, open up vents, add shade, and double‑check waterers.
- Once or twice a year, do a full clean‑out and inspect for wear or chewed spots.
These habits don’t take long, and they keep your hens laying steady and acting cheerful. A coop doesn’t need to smell like a candle shop; it just needs to be dry, roomy, and safe.