
How To Create A Chicken Coop
How to create a chicken coop without losing your mind, your money, or your morning eggs
I have been raising hens for more years than my knees like to admit. I have built coops out of new lumber, recycled pallets, a busted horse trailer, and once a kid’s playhouse the grandkids outgrew. Let me walk you through how to create a chicken coop that actually works in real farm life, not just in pretty pictures.
Real farmer, real coopsWhen folks ask me how to create a chicken coop, they usually think the big question is “What size do I need?” or “Do I build or buy?” Those matter, sure. But the real trick is this: your coop has to fit your land, your weather, your daily routine, and your flock’s bad habits. Chickens are simple, but they are picky about three things: being dry, being safe, and having just enough elbow room to keep the peace.
On my farm here in the States, I learned most of my coop lessons the hard way. My first coop looked cute as a postcard. Then the first big summer storm rolled in and turned the floor into a muddy omelet. The second year, I “improved” it and forgot about ventilation. The hens survived, but they looked at me like I was trying to slow cook them every afternoon.
So what I will share with you here is not theory. It’s from frostbitten fingers, muddy boots, and more early-morning egg hunts than I can count.
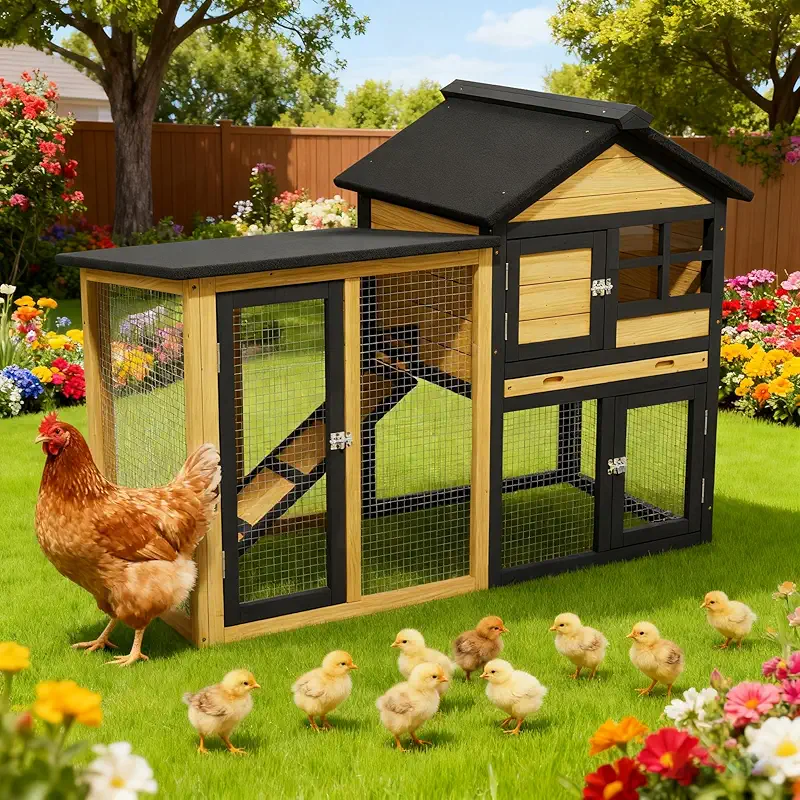
If you are torn between building from scratch or starting from a ready-made coop, think about your time first, not your toolbox. Chickens do not care if the joints are fancy. They care if their feathers stay dry and the fox stays outside.
Start With The Flock, Not The Boards
Before you cut your first board or look at your first coop online, be honest about your hens:
- How many chickens do you really plan to keep, not just this year, but in two years?
- Are they heavy, slow breeds, or lighter, more flighty ones?
- Are you dealing with ice and snow, or more heat and humidity?
- Do you have neighbors close by, or plenty of quiet space?
When I built my second coop, I “planned” for six hens. Within a year I had twelve, then fifteen, then my wife said, “We are not living in a feather factory.” So, plan a little bigger than your first brave guess. I like at least 4 square feet per bird inside the coop and around 10 square feet per bird in the run. If your birds are confined more often (long winters, predators, work schedule), give them more space.
A cramped coop is like a crowded bar on a Friday night: someone will get pecked, and it will not be pretty.
The Three Big Rules Of Any Good Coop
If water can sneak into the coop, it will. Slope your roof, overhang the edges, and keep the floor up off the ground. I like a simple raised floor with good, thick bedding. A dry coop smells like clean straw, not a barnyard.
Chickens breathe out a lot of moisture. Without ventilation, that damp air settles on combs and feathers and makes winter feel three times colder. Put vents high up under the eaves so fresh air moves through, but your birds do not sit in a direct draft.
Raccoons, foxes, dogs, hawks, rats—if you have chickens, you are putting on a buffet. Use hardware cloth, not chicken wire, for the serious spots. Chicken wire keeps chickens in; it does not keep determined teeth out.
How To Create A Chicken Coop: Step-By-Step
Let us walk through the steps I follow whenever I put together a new coop, whether I am knocking one together from scrap wood or setting up a sturdy store-bought model in an afternoon.
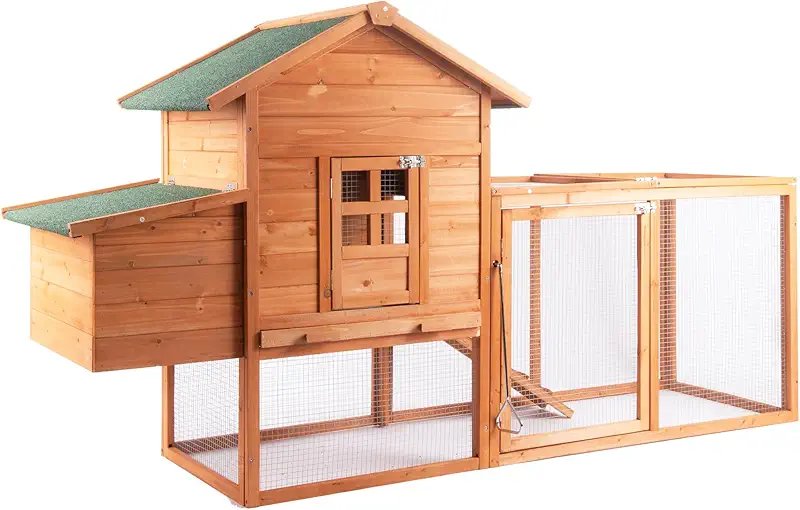
- Pick the spot. High ground beats low ground every time. Avoid the bottom of a slope where water collects. A little afternoon shade is gold in hot states, and a windbreak helps a lot where winters bite.
- Plan the footprint. Sketch it, even if you are no artist. Mark the corners with stakes and walk around it. Imagine carrying feed buckets in the rain. If it feels awkward now, it will feel worse at 6 a.m. in February.
- Decide on floor style. I like raised wooden floors for small backyard coops and well-drained dirt floors with deep litter for larger flocks. Cement can work, but it can be cold unless you use good bedding.
- Frame the walls or assemble the panels. If you are building, keep things square and simple. If you are working with a kit or pre-made coop, lay all the parts out and double-check hardware before you start. Nothing like finding you missed a bag of screws at sunset.
- Roof and overhangs. Water is your main enemy. Give that roof a good slope and let it hang out over the walls so rain does not sneak inside. I always add a little extra over the nesting box side.
- Doors, windows, and vents. Hens need a pop door they can hop through, a human-sized door for you, and some openings up high under the eaves. I cover all openings with hardware cloth, especially if I can slide a hand through there.
- Perches and nesting boxes. Put roosts higher than the nesting boxes, or your birds will sleep where the eggs are supposed to go. Ask me how I know. I aim for 8–10 inches of roost space per hen and one nest box for every 3–4 hens.
- Secure the run. If you add a run, bury hardware cloth at least 12 inches down, or bend it out in an apron. Predators dig from the outside in; beat them at their own game.
- Add bedding and test. Before you move the birds, sit in the coop a minute. Smell it, feel the air, listen for rattles and squeaks. If you are uncomfortable, your hens will be too.
My Favorite Simple Layout That Just Works
After a lot of trial and error, I settled on a simple layout that works for just about any small flock:
- Pop door on the south or east side, so winter winds are not blasting straight in.
- Human door on the side with the cleanest access, where I can push a wheelbarrow right up.
- Nesting boxes along one wall, about 18 inches off the floor.
- Roosts above and slightly in front of the nesting boxes, but not directly over them.
- Ventilation slots right under the roofline, covered with hardware cloth.
- Feed and water just inside the pop door in winter, out in the run in summer.
Think of your coop like a tiny barn: clear paths for you, natural flow for the birds. If you have to crawl, contort, or hold your breath every time you clean, you will hate that coop by Christmas.
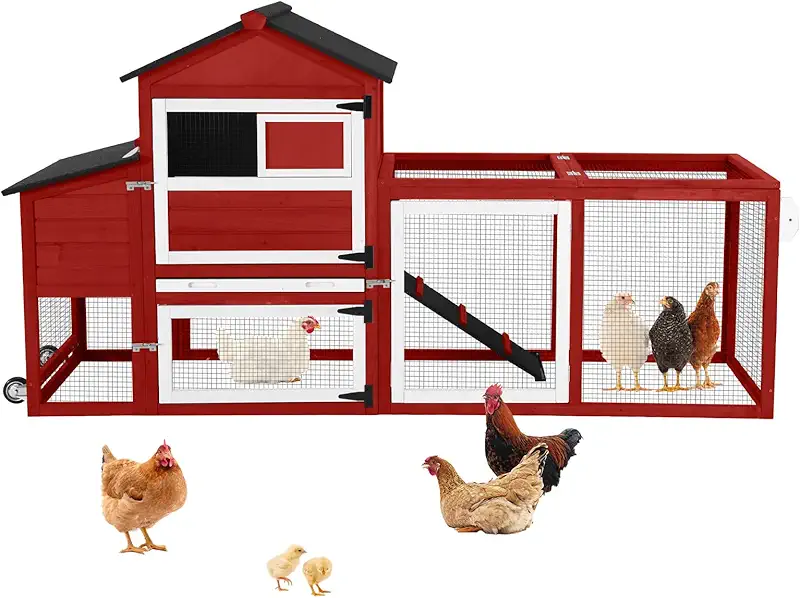
Once I put the nesting boxes right by the main door because it “looked handy.” The hens agreed. They piled there every night, and I spent weeks scraping droppings off the egg boxes. Keep the cozy sleeping place on the roosts, not in the nests.
Building From Scratch vs. A Ready-Made Coop
I love working with wood. The sound of a saw in the barn is about as comforting to me as the cluck of a happy hen. But I am also honest: some seasons, I barely have time to drink my coffee while it is still hot, never mind build a brand-new coop from the ground up.
When you are thinking through how to create a chicken coop, here is how I decide which way to go:
Reasons I build it myself
- I need a very specific size or shape to fit a spot on the property.
- I want to match an existing building or attach it to a barn.
- I have leftover materials and a free weekend or two.
- I enjoy tinkering as much as I enjoy collecting eggs.
Reasons I start from a ready-made coop
- Time is tight, but I want birds laying this season.
- I am setting up a small backyard flock and do not need a giant structure.
- I want something that can be moved or adjusted easily later.
- I would rather spend my energy on the birds than on Blueprints 101.
Starting from a pre-built coop and making it truly “farm tough”
One trick I use a lot: start with a sturdy, simple pre-made coop, then “farm it up” with a few easy upgrades—extra hardware cloth, stronger latches, maybe bigger perches. You get the speed of a ready-built structure with the durability of a custom job.
If I were setting up a starter flock today and wanted to keep it simple, I would look through a few well-rated coop options and pick one with:
- A raised house to keep the floor dry and give shade under it.
- Enough length for decent perch space.
- Removable tray or easy-access door for cleaning.
- Solid wood or metal, not flimsy plastic that warps in the sun.
Then I would add my favorite touches: better latches, extra vents, and thicker bedding than you see in the photos. Chickens do not need fancy, they need strong and sensible.
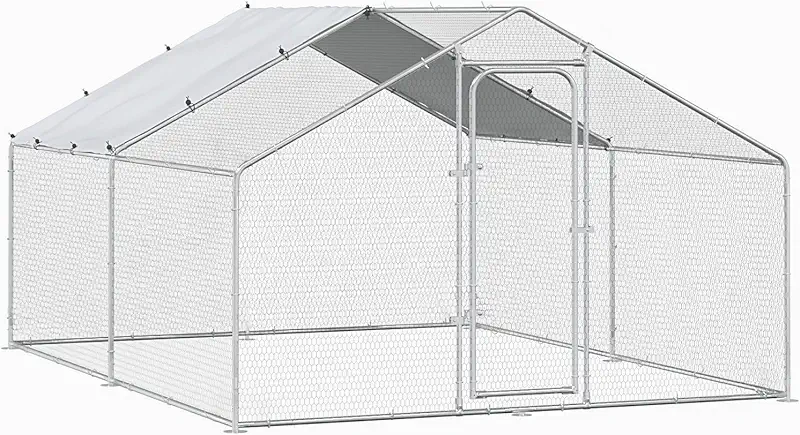
When I am short on time, I like to browse different coop setups, picture them in my yard, and then imagine myself feeding birds there in the rain. If that mental picture feels easy, I know I am on the right track.
Let me picture thisInside The Coop: Perches, Nests, And Daily Comfort
A lot of folks focus on the outside shell when they think about how to create a chicken coop. But the inside is where your hens will spend their nights, and most of their winters, so make it feel right for them and workable for you.
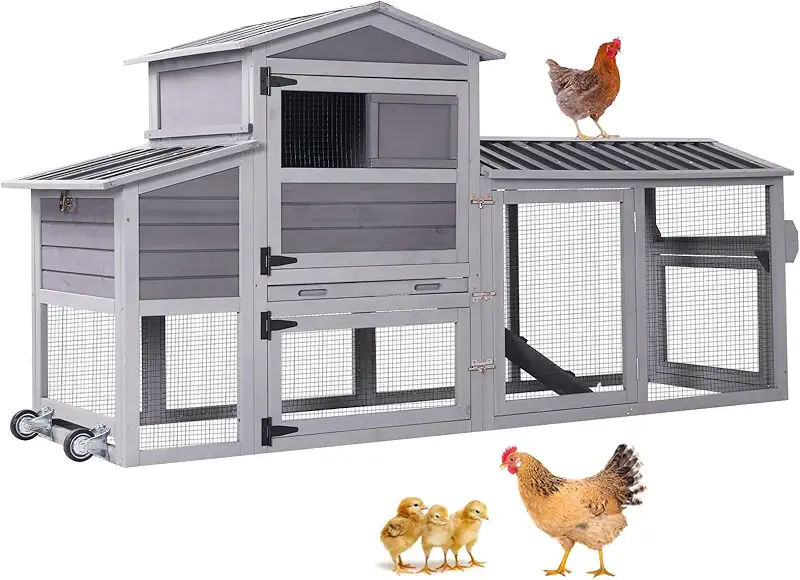
Perches (Roosts)
- Use a rounded edge, like a 2x4 laid flat or a smooth branch, so their feet rest comfortably.
- Keep roosts all at the same height so everyone shares instead of fighting for the “penthouse.”
- Give enough space so they can sit shoulder to shoulder, but not squished.
Nesting Boxes
- One box for every 3–4 hens is plenty. They will still argue over the same favorite one.
- Make them cozy and a little dim. Hens like a quiet, private spot to lay.
- Use straw, shavings, or chopped hay for bedding, and refresh it often. Clean nests mean clean eggs.
Feed And Water
I have tried hanging feeders, pans on the floor, fancy systems, you name it. In the end, the best setup is the one you can keep clean without cussing. In winter, I keep water inside where it freezes a little slower. In summer, I prefer it in the run where they spend most of their day.
Every evening when I close the coop, I take ten seconds to peek at the perches and the bedding. If something seems off—too damp, too dusty, strange smell—I fix it the next day. That small habit keeps big problems away.
The Run: Room To Scratch, Dust-Bathe, And Gossip
A coop without a good run is like a house without a yard. Your hens will survive, but they will not be nearly as happy, and unhappy hens rarely give you their best eggs.
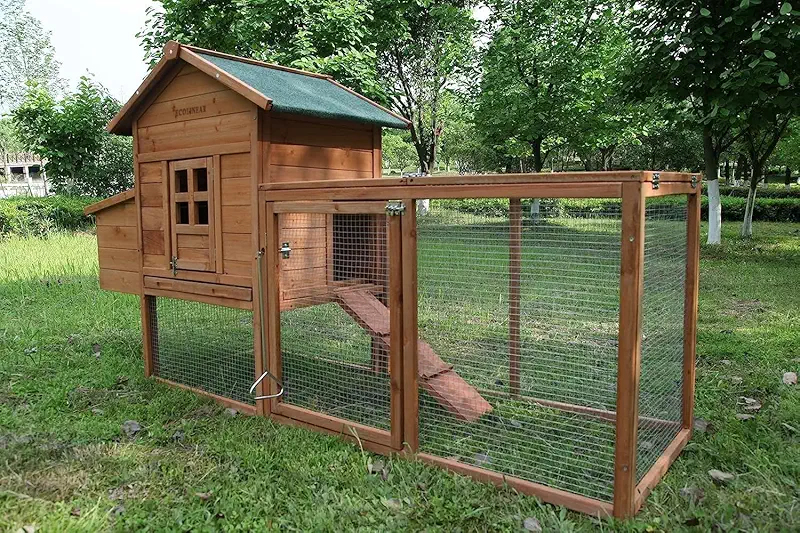
When you plan how to create a chicken coop, think of the run as part of the design, not an afterthought. Here is what I aim for:
- Enough ground space for each hen to scratch, dust-bathe, and patrol without bumping into everyone.
- Dry footing, with some areas covered so the ground does not turn into soup when it rains.
- Places to hide and perch, like low branches or simple platforms, especially helpful with mixed flocks.
- Good fencing, tall enough to discourage jumpers and strong enough to stop dogs and coyotes.
I like to toss in a bit of old log, a stump, or a few concrete blocks. Chickens love levels. The boss hen will always find the top spot, just like a manager finding the best office.
Weather-Proofing Your Coop For Real-Life Seasons
I have seen coops baked in southern sun and half-buried in northern snowdrifts. The basics of how to create a chicken coop stay the same, but the details change with your climate.
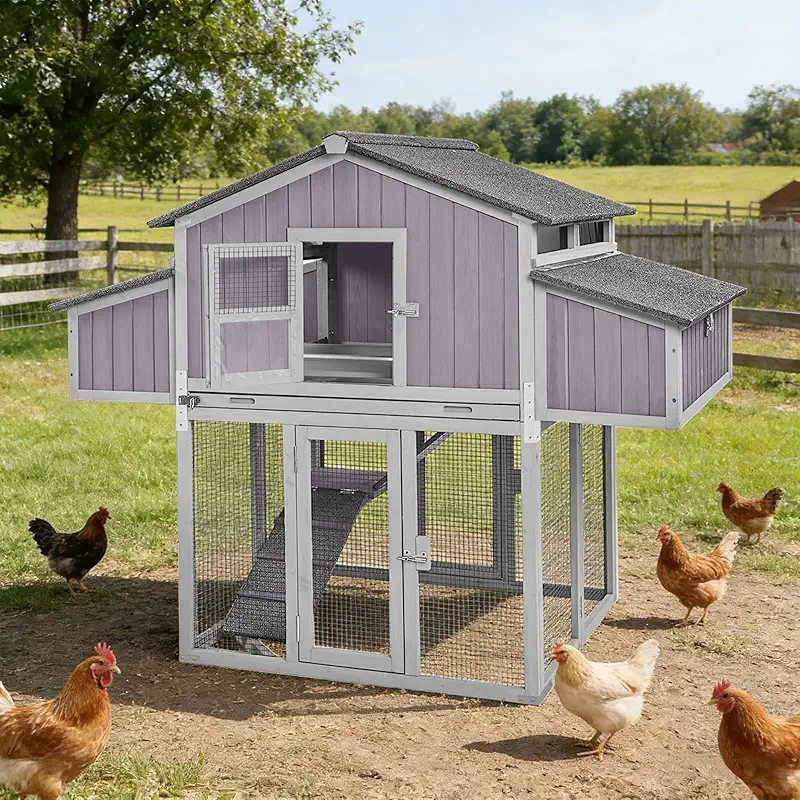
In Cold Climates
- Focus on blocking drafts at bird level, not sealing the coop tight.
- Use deep, dry bedding for natural insulation.
- Keep water from freezing as best you can, with heated bases or frequent checks.
- Make sure perches are wide so hens can sit on their feet and keep toes warm.
In Hot Climates
- Add more shade, both over the coop and in the run.
- Prioritize ventilation; hot, still air is rough on birds.
- Use light-colored roofing so it reflects heat instead of soaking it up.
- Provide several water spots and refresh often.
At the start of summer and winter, I walk around the coop with a notebook and a cup of coffee. I look for leaks, holes, loose boards, and shady spots. Ten minutes twice a year saves a lot of feathers—and a lot of headaches.
Keeping Things Clean Without Making It A Second Job
When people imagine farm life, they see sunrises and fresh eggs. They do not usually picture the wheelbarrow full of used bedding. But a good cleaning routine is a big part of how to create a chicken coop that stays healthy long-term.
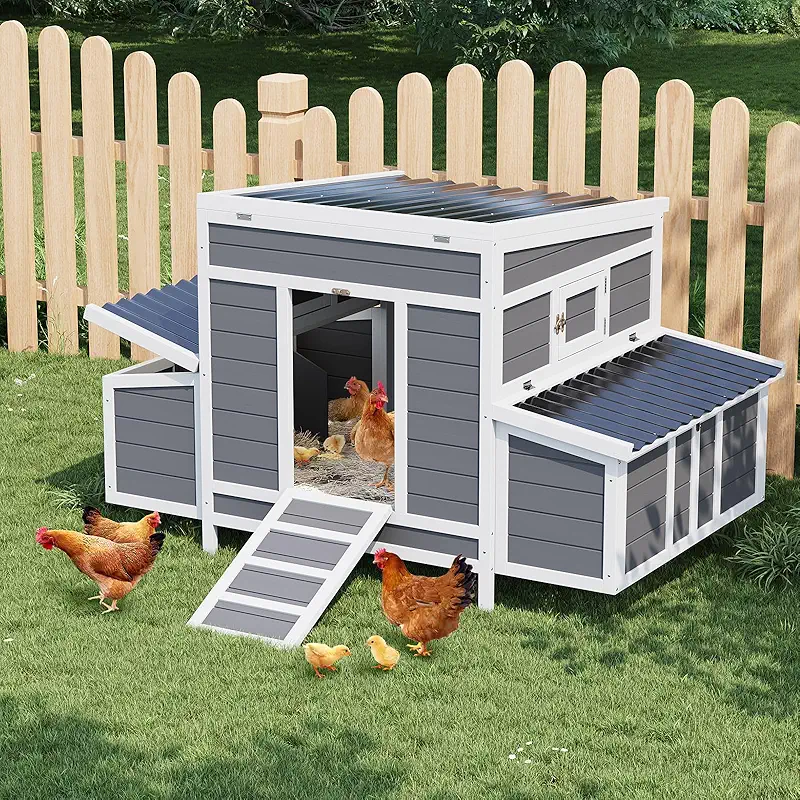
I keep it simple:
- Daily (or close to it): Scoop the worst droppings under the roosts, check the water, top up the feed.
- Weekly: Stir or refresh bedding, wipe down obvious messes around the waterer and feeder.
- Seasonally: Big clean-out, new bedding, quick look for any repairs needed.
Hens do not need sterile. They need clean enough that parasites, damp, and stink do not build up. If the coop smells sharp or heavy when you open the door, it is time for some elbow grease.
FAQ: Real-Life Questions About How To Create A Chicken Coop
1. What is the biggest mistake people make when creating a chicken coop?
The biggest mistake I see is building too small and too cute. Tiny coops look nice in photos, but real hens need space to move, roost, and get away from each other. If you are unsure, give them more room, especially if winter keeps them indoors longer.
2. Is it cheaper to build a coop or start from a ready-made one?
It depends on your scrap pile, your tools, and your time. If you already have lumber and you enjoy building, you can save money doing it yourself. If you have to buy every screw and do not own many tools, a solid pre-made coop can end up costing about the same, and you save a lot of hours.
3. How much space does each hen really need?
I tell folks to aim for at least 4 square feet per bird inside the coop and 10 square feet per bird in the run as a starting point. More is always better if you can swing it, especially for heavier breeds or if they must stay confined for safety.
4. What should I use for the floor of the coop?
Raised wooden floors are great for small coops, especially in damp areas. Packed dirt or gravel floors with deep litter work well for larger setups. Whatever you choose, keep it dry and covered with good bedding. Chickens care more about dryness and cleanliness than what the actual material is.
5. How do I predator-proof my coop without turning it into a fortress?
You do not need a castle, just smart defenses. Use hardware cloth where teeth and claws might test the coop, bury or apron your fencing to stop digging, lock doors securely each night, and close windows and vents with strong mesh. Think like a hungry raccoon: if you could pry or squeeze in, so can they.
If you are ready to turn all this talk about how to create a chicken coop into a real safe home for your hens, it can help to look over different coop styles and imagine them in your own yard.
Show me more coops