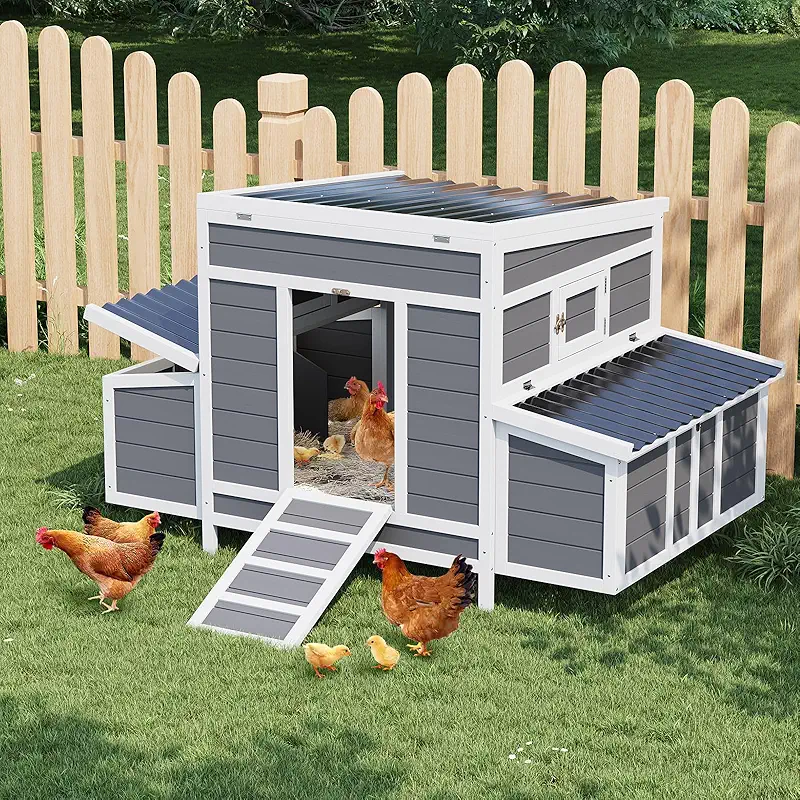
Cheap roofing for chicken coop
cheap roofing for chicken coop
Keeping hens dry on a small budget is possible, if you know where you can save money and where you really should not.
My name is Joe, I farm out here in the Midwest, and I have patched more chicken coop roofs than I can count. I have used tin that rattled in the wind, old barn metal, plastic panels, and even a billboard tarp that used to advertise fast food. The hens did not care what it looked like, but they sure cared about staying dry and draft free.
- Low‑cost roofing ideas that actually last
- What I learned from leaky roofs and cranky hens
- Simple tips for rain, snow, and hot summers
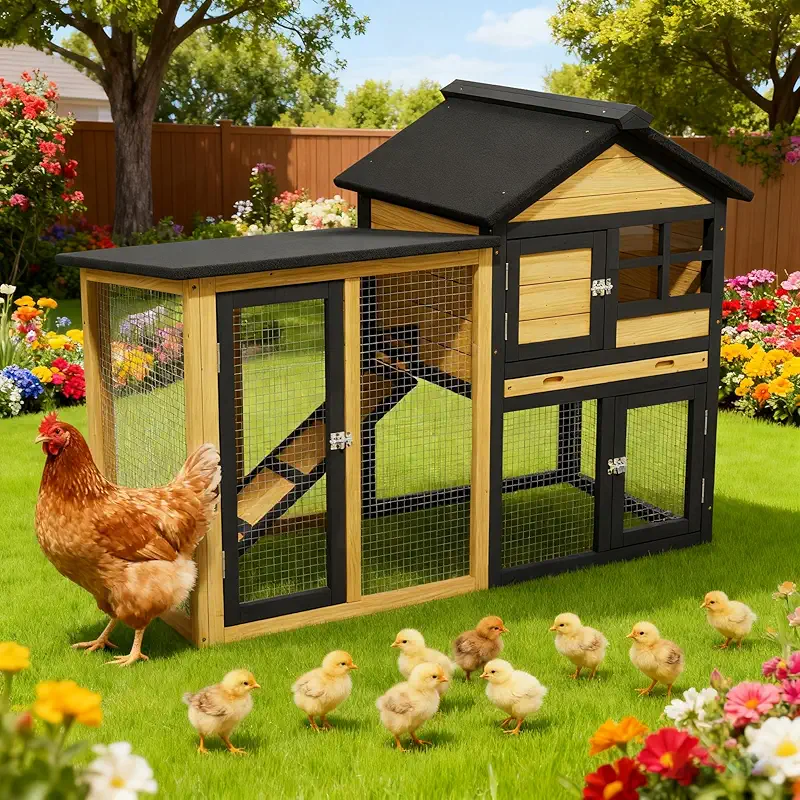
What cheap roofing for a chicken coop really means
When folks say they want cheap roofing for chicken coop builds, they often mean they do not want to waste money. I agree with that completely. But “cheap” can mean two very different things out here on the farm.
There is cheap like “I found something affordable that still does the job right.” Then there is cheap like “it was free, and now I spend every rainy week with a bucket inside the coop.” I have tried both kinds, and I strongly prefer the first one.
My hens taught me a simple rule: water and wind are your real enemies. A roof can look ugly, it can be mismatched metal from three different barns, and the chickens will not complain. But if there is a drip over the roost bar in January, you will hear about it loud and clear, and usually in the form of respiratory issues or frostbite.
So, when I talk about cheap roofing, I am really talking about smart roofing. We keep the cost down, but we still protect:
- Dry bedding – so it does not mold or freeze into a clump
- Stable temperature – no strong drafts or metal baking them alive
- Good ventilation – so damp air can get out
- Easy maintenance – because we are all too busy already
If you keep those four points in mind, you can build or upgrade a roof that costs less than you think and keeps your flock happy for years.
Budget‑friendly roofing options I have tried
Over the years, I have tried just about every option a tight farmer budget can come up with. Some worked surprisingly well, some were a lesson in what not to do. Let me walk through the main ones and what I really think of them after a few seasons of sun, snow, and sideways rain.
1. Corrugated metal sheets
Plain corrugated metal roofing is still my favorite balance of cheap and tough. It is light, easy to work with, and sheds water and snow like a duck’s back. A few panels and a box of screws can turn an open frame into a weather‑tight coop in one afternoon.
The downside? In mid‑summer it can get hot. Out here, my July sun feels like it is two feet from the roof. So I always add shade, a little overhang, and plenty of ventilation under the high side of the roof.
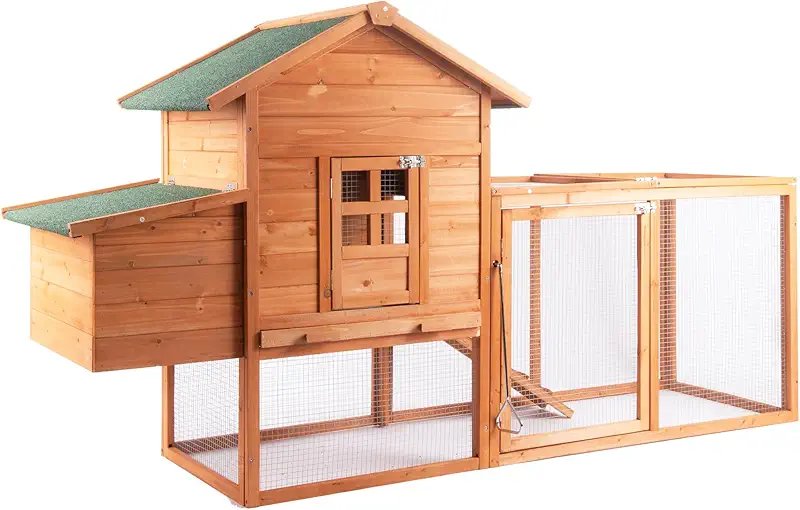
Why I like metal roofs
- Lasts years, even in rough weather
- Sheds snow and heavy rain fast
- Simple install with basic tools
- Easy to patch or add on later
Things to watch for
- Can get loud in heavy rain or hail
- Heats up in direct summer sun
- Edges can be sharp – wear gloves
- Need solid framing so it does not rattle
2. Corrugated plastic or polycarbonate panels
Plastic panels are another solid option when you want cheap roofing for chicken coop projects but like a bit of light coming in. They cost more than scrap tin but usually less than fancy roofing, and they are easy to cut with a handsaw.
I use them over my small grow‑out coop where I want light but not leaks. They do not rust, but hail and fallen branches can crack them, so I space my supports a little tighter than with metal.
3. Reclaimed materials – when “free” makes sense
Every farmer I know has a pile of “might use this someday” in the corner of the shed. I am no different. I have used old barn tin, leftover shingles, and even wood from a shipping crate.
Reclaimed can be great, but only if you are picky. Rusty metal full of pinholes will save you money on day one, then steal it back when you are replacing moldy bedding and sick hens. I only use reclaimed roofing if:
- The metal or panels are still solid, no pinholes when you hold them up to the sun
- I can overlap them well and seal holes and seams
- There is no flaking paint or unknown coatings inside the coop area
Cheap roofing options I do not recommend anymore
Now for the part where I confess my mistakes. I have tried some roofing ideas I thought were clever and cheap, but the hens quickly proved me wrong.
1. Just a tarp over everything
When I built my very first coop, I stretched a big blue tarp over a simple frame and called it a roof. It worked for about a month. Then the wind caught it, the grommets tore out, and I woke up to a swimming pool right where the feeder sat.
Tarps are fine as a temporary fix or an extra layer over a solid roof in winter, but they should not be the only roof, at least not if you get real weather like we do out here.
2. Random scrap wood with no slope
Another time, I “saved time” and laid scrap plywood flat on top of a small coop, covered it with plastic, and thought I was clever. The first big rain turned it into a bathtub. Chickens and standing water do not mix.
A roof needs slope. Even a slight pitch is enough to shed water and snow. If water can sit, it will eventually find a way in. That is one lesson I do not need to learn twice.
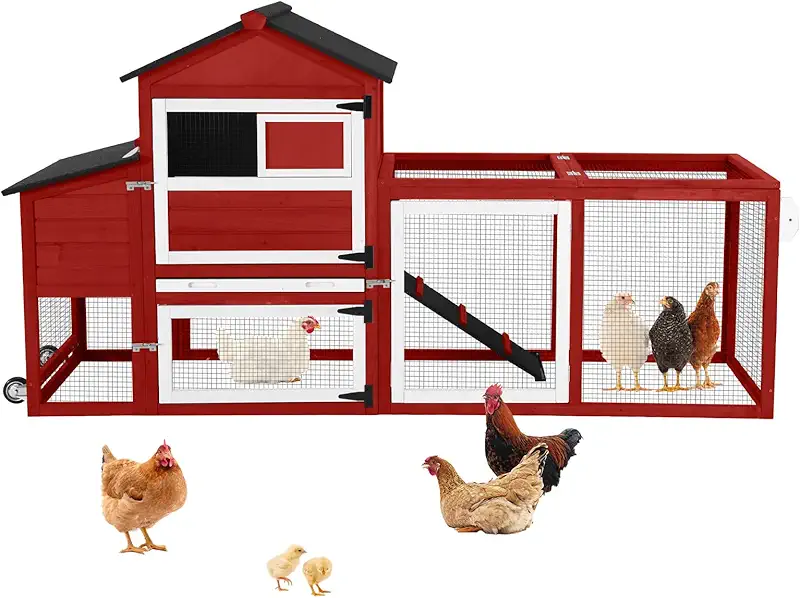
How to plan cheap roofing for chicken coop step by step
Let me walk you through how I plan a low‑budget roof these days. It is not fancy, but it works, and it keeps my girls clucking instead of complaining.
Step 1 – Think about your weather first
Before you buy a single panel, ask yourself what your roof really has to stand up to. Out here I get heavy snow, high summer heat, and strong winds. That means I favor sturdy framing and roofing that sheds snow easily.
If you are down South, you might care more about shade and ventilation and less about snow load. Think about:
- Average rain and snow in your area
- Strong winds or storms you get each year
- How hot your summers get on a still day
Step 2 – Choose a simple roof shape
For cheap roofing, simple is better. I almost always choose one of two shapes:
- Single‑slope (shed) roof – Higher in the front, lower in the back. Easy to build, great for small coops.
- Basic A‑frame (gable) roof – Two sides meeting in the middle. Good for heavier snow and gives you some loft space.
Fancy angles look nice, but you pay for every cut with more time and more chances to leak. Straight lines and solid overlap are your friends.
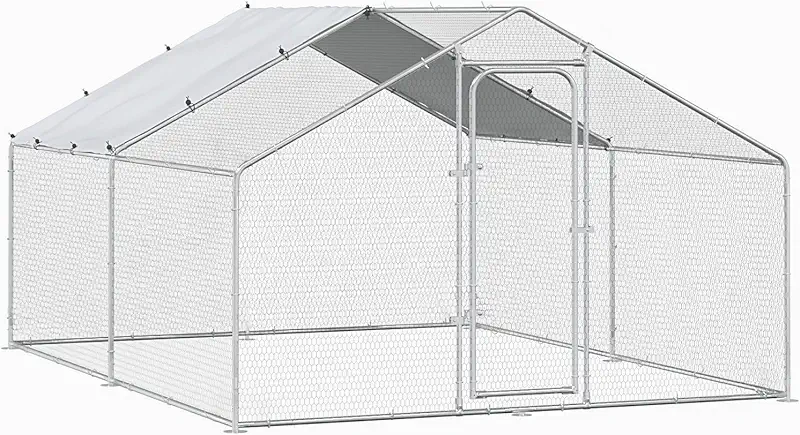
Step 3 – Frame strong, then roof cheap
Here is a little secret from a farmer who has chased more than one runaway panel: a strong frame lets you get away with cheaper roofing. Weak framing with thin roofing is a recipe for frustration.
I like to:
- Use 2x3 or 2x4 rafters spaced close enough to support your roofing
- Add a small overhang in front to keep rain away from the pop door
- Run purlins (cross boards) under metal or plastic panels to anchor screws
Step 4 – Seal the right spots
You do not have to seal every crack in a coop. In fact, a little air movement is good. But there are a few key places where water loves to sneak in:
- Where two roofing panels overlap horizontally
- Where the roof meets the wall at the top
- Along screw holes in thin roofing materials
I use proper roofing screws with rubber washers, and I am not shy about a line of sealant under tricky overlaps. It takes a few minutes now and saves buckets and bales of wet bedding later.
Keeping your coop roof cool, dry, and quiet
Once you have cheap roofing for chicken coop walls in place, you can make a few small tweaks that really improve life inside for your flock.
Ventilation without drafts
Chickens hate cold drafts on their backs when they sleep, but they need fresh, dry air above their heads. I like to leave a gap under the high side of a shed roof, covered with hardware cloth, so warm, damp air can escape. Then I keep the lower side tight so wind does not blow straight across the roosts.
Quieting down loud roofs
Metal roofs can sound like a drum in a hard rain. The hens do not mind as much as we do, but if your coop is near the house, or you just like a little quiet, you can:
- Add a thin layer of plywood or OSB under the metal
- Use shorter screw spacing so panels do not vibrate as much
- Store a bale of straw or hay up under the eaves to muffle sound (just keep it dry)
Beating the summer heat
My hottest coop used to be an all‑metal one that faced the afternoon sun. The girls would pant like little dogs, wings held out, and egg production dipped. I did three simple things that changed everything:
- Painted the metal a lighter color to reflect heat
- Added a small shade cloth over the most exposed side
- Opened extra high vents under the roofline
Eggs picked back up, and the hens went back to complaining about the rooster instead of the weather.
Real‑world examples from my farm
Let me give you a few real setups I use right now, so you can picture how cheap roofing looks in the wild and not just in someone’s sketchbook.
The “patchwork tin” layer coop
This coop started as a simple wood frame with leftover barn tin from three different years. Nothing matches, and it would never be on the cover of a magazine, but it has been bone‑dry for six winters.
I overlapped the panels generously, used good roofing screws, and added a decent overhang on the front. The whole roof cost less than one trip to town for feed, and it has already used up more than its share of storms.
The clear‑panel grow‑out coop
My grow‑out coop for young birds has a mix of clear plastic panels and solid roofing. The clear section faces east to catch the morning sun, and the solid section faces west to give them afternoon shade.
It is one of my cheapest roofs, but the way it is placed and sloped keeps it dry and bright. The young pullets stretch out in the sun on cold mornings like they are on vacation.
The “learning the hard way” tarp experiment
Then there is the little coop that taught me to stop trusting tarps. It started as a quick shelter “just for a week or two.” Six months later, the tarp had shredded, the roof sagged, and I had one very damp corner right where the hens loved to scratch.
I ended up re‑roofing that coop with simple metal, the thing I should have done in the first place. Now I keep tarps in the barn for covering firewood, not for roofing, and my hens seem grateful.
FAQ about cheap roofing for chicken coop
On my farm, basic corrugated metal has been the best mix of cheap and dependable. It is not always the lowest sticker price, but it lasts long enough that, over the years, it is the cheapest per season. If you can get sound used panels from a barn tear‑down, that can be even cheaper, as long as you check for rust holes and sharp edges.
You can, but I would call it a short‑term fix, not a real roof. Tarps flap, tear, and pool water. On a calm day they look fine, then the first strong wind or heavy rain shows you every weak spot at once. I am much happier using a tarp over a solid roof as extra protection, not as the only thing between my hens and the clouds.
More is usually better, but even a modest slope helps. I try for at least a 3:12 pitch (3 inches of rise for every 12 inches of run) on metal or plastic roofs so water and snow move off instead of sitting. In heavy‑snow country, steeper is safer. A nearly flat roof might look easier to build, but it will give you trouble sooner or later.
It can, if you do not plan for it. Metal reflects and also holds heat, especially in dark colors. The good news is you can manage that with ventilation, light‑colored paint, shade from trees or cloth, and good air gaps under the roof. I run metal on several coops in hot Midwestern summers and keep my hens comfortable with those tricks.
From a farmer who has patched too many leaks: usually, yes. Roofing is one of those things where spending a bit more now often saves money in feed, bedding, and vet bills later. I still look for deals and reclaimed materials, but I never ignore holes, thin spots, or sloppy overlap just to save a few dollars. Dry hens lay better and stay healthier, and that is where the real savings show up.
Last thoughts from an old chicken keeper
I have raised hens long enough to know they are tougher than we think and fussier than they act. They will scratch in the snow and chase grasshoppers in the heat, but they want one thing from us at night: a dry, safe place to roost.
Cheap roofing for chicken coop projects is not about cutting every corner. It is about knowing which corners matter. A few extra screws in a metal panel, an inch more overhang, or a properly sealed seam might not look like much, but on a cold, rainy night, it is the difference between a cozy coop and a damp, grumpy flock.
If you keep your roof simple, solid, and sloped, you can save good money without paying for it in problems later. Your chickens will not care what color the panels are or whether the neighbors think it is pretty. They will care that their combs are dry and the wind is not whistling through their feathers.
So take your time, measure twice, and do not be afraid of “ugly but strong.” Around here, that is what most of our best farm gear looks like anyway.
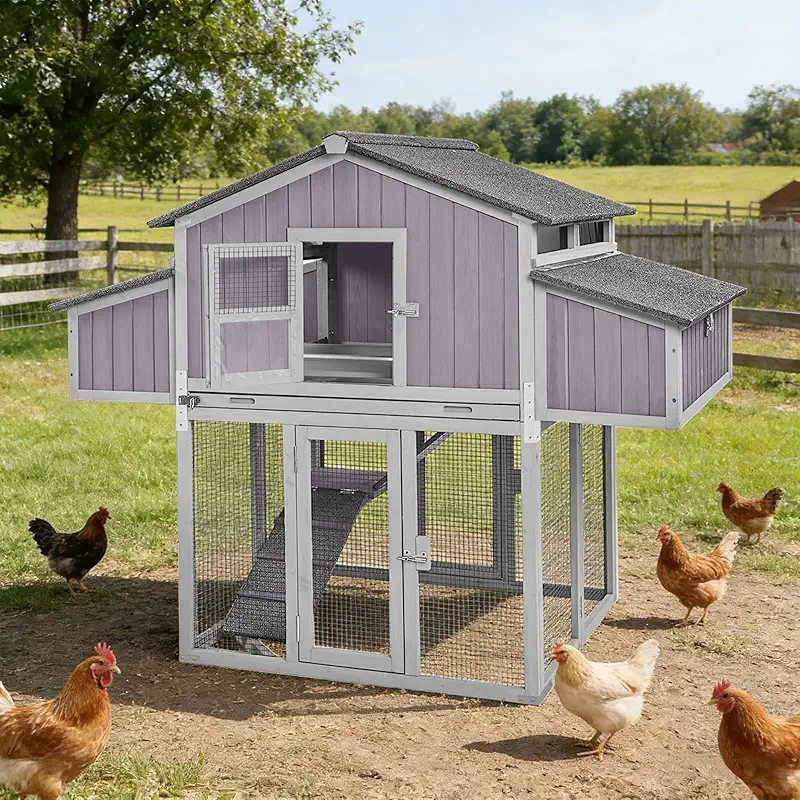
If you are anything like me, once you start looking at coop roofs you end up daydreaming about the whole setup. Size, doors, nest boxes, runs – it all ties together. When you are ready to see how different coops and roof styles look side by side, take a slow browse through some options and let your own birds be the judge.