
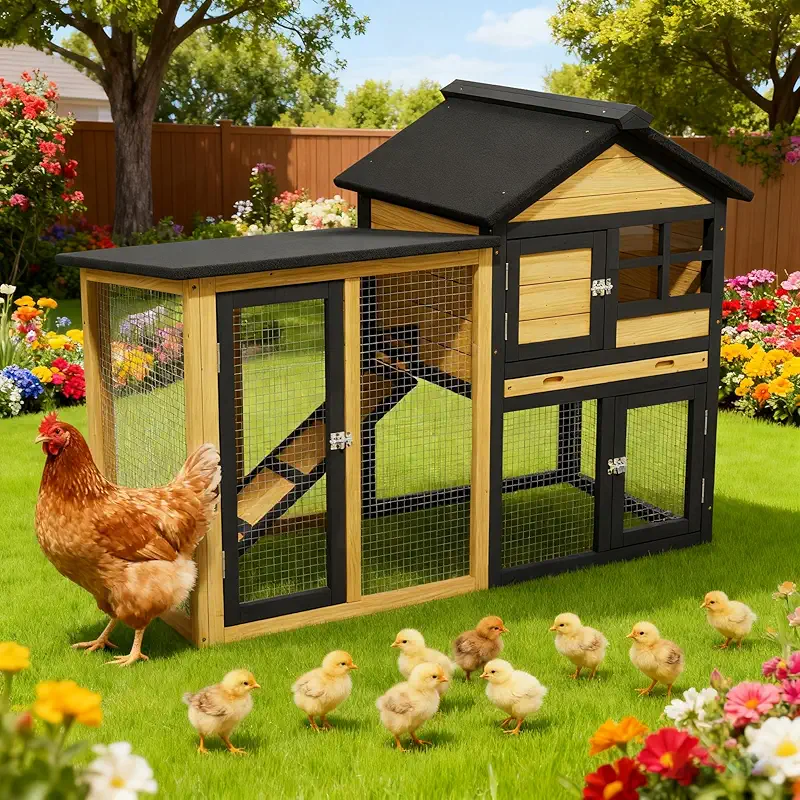
I’ve been raising laying hens longer than some of my neighbors have been alive. Out here in the States, money is tight, storms blow hard, and if a coop can survive three winters on my hill, it’s probably tougher than half the politicians in town. So when folks ask me how to find cheap chicken coops for sale nearby, I don’t start with price. I start with, “Will it keep your birds alive and laying?”
Cheap is fine. Flimsy is not. I’ve seen “bargain” coops turn into wet cardboard after one good storm. I’ve also seen modestly priced, smaller coops last for years because someone chose wisely and did a little simple upkeep. Think of it like boots: one solid pair beats three pairs of bargain-bin junk.
Let me walk you through what I look for when I’m hunting budget coops, what corners you can safely cut, and which ones you absolutely can’t. I’ll sprinkle in some of my own hard‑earned stories, just so you don’t have to repeat my mistakes. Trust me, chasing 12 hens through a neighbor’s yard in your pajamas is a powerful teacher.
What “Cheap” Really Means For A Chicken Coop
When I say cheap, I don’t mean junk wood, rusty hinges, and a roof that waves at the wind. I mean good enough materials, smart design, and no fancy fluff that hens don’t care about. Chickens don’t count windows; they care about dry bedding, good air, and safety after dark.
With most of the cheaper coops you’ll find, the trade‑off is size and thickness of the wood. They’re often lighter, a bit smaller, and might need a few simple upgrades from you. That’s fine, as long as the basics are solid:
- The frame feels sturdy when you shake it.
- The roof keeps rain out and doesn’t sag.
- Doors and latches close tight, no big gaps.
- Floor stays dry and above standing water.
Get those right, and a modest coop can serve you and your hens just fine. Miss those, and your “bargain” turns into a drafty, muddy nightmare that smells worse than my barn boots in August.
My First Budget Coop (And The Windstorm Lesson)
Years back, when feed prices jumped and money was thin, I grabbed a cheaper coop online. Looked pretty in the pictures, had a nice little run, and the price made me feel clever. I put it together behind the barn on a chilly Saturday, proud as a rooster on a fence post.
The first light rain? No problem. Chickens were dry, everyone happy. I bragged about that coop like it was handcrafted from oak. Then March came. Around here, March means wind that’ll peel the shingles off your roof if you look at it wrong.
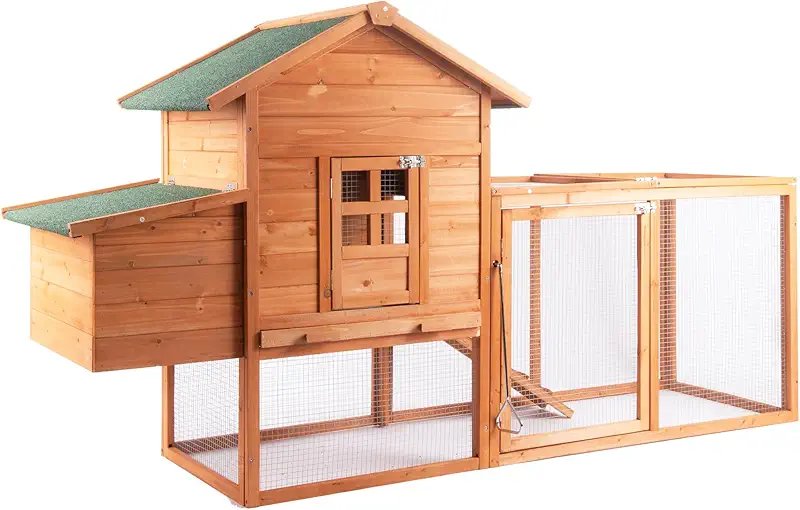
One gust hit that coop broadside, and I watched the whole thing rock like a drunken sailor. Chickens squawked, bedding flew, and I got a free lesson in the value of bracing and anchoring. The coop didn’t break, but it sure tried to walk away.
That afternoon, I added two simple braces to the corners and drove some anchors into the ground. Took maybe an hour and fifteen bucks. After that, it rode out storms just fine. The lesson? A cheap coop can be good, but you may have to finish the job the factory started.
How To Judge A Cheap Coop In Five Minutes
Whether you’re looking online or walking through a local farm store, I use the same quick checklist. I don’t care how cute the little shutters look; I care if it’ll keep my girls dry and alive in January.
1. Roof And Rain Protection
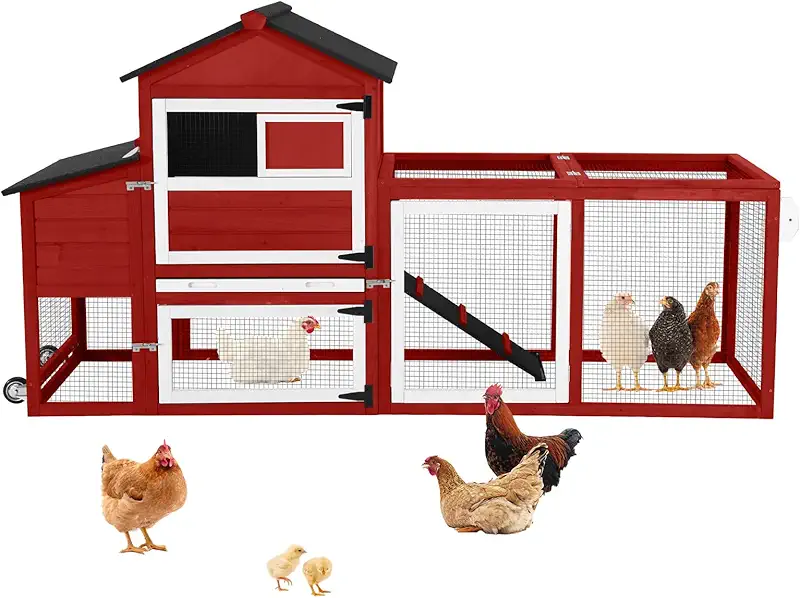
Look for a roof with enough slope so water doesn’t sit on top. Flat roofs on cheap coops sag quick. Bonus points if the roof has some sort of shingle, metal, or waterproof layer. If I can see daylight through the roof boards in the pictures, I’m out.
2. Wood Thickness And Frame
Cheap coops often use thinner wood, and that’s okay to a point. I gently push on the walls and posts. If they flex like cardboard, I know I’ll be out there patching it after the first strong wind. If the frame looks like it has solid corner posts and cross beams, I’m happier.
3. Ventilation (Without Drafts)
Chickens breathe out a lot of moisture. Moisture inside a coop in winter means frostbite. I want vents up high under the eaves, not big holes right at chicken level. A few screened openings near the roof do wonders, even in a cheap coop.
4. Easy Access For You
You’ll be in that coop every day, rain or shine. Make sure there’s at least one door you can reach into comfortably for cleaning and egg collecting. I once bought a coop where I had to crouch and twist like a circus act just to grab the eggs in the back nest box. My knees still complain about that one.
5. Hardware And Latches
Hinges and latches are where a lot of cheap coops cut corners. If they look like they belong on a toy box instead of a barn, plan on replacing them. A couple of decent barrel latches and some screws are cheap insurance against raccoons and stray dogs.
How Many Hens Can A Cheap Coop Hold?
One of the most common mistakes I see is folks stuffing too many hens into a small coop because the box said it fit “up to 10 chickens.” Sure, maybe 10 very polite chickens that never move. Real birds need room.
For layers, I like at least 3–4 square feet per bird inside the coop and around 8–10 square feet per bird in the run. Cheaper coops tend to be smaller, so be honest about your flock size.
Here’s a simple way to think about it:
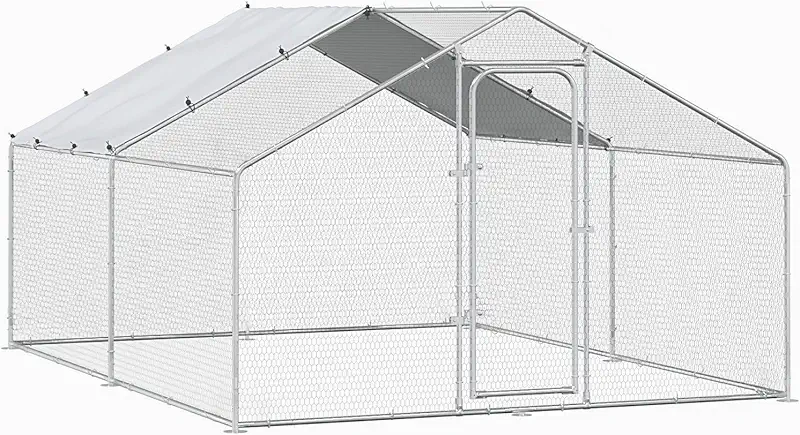
- Small cheap coop: fine for 2–4 hens.
- Medium cheap coop: 4–6 hens if the run is decent.
- Larger budget setups: maybe 6–8 hens, sometimes more if you add extra run space or free‑range time.
When in doubt, go for fewer birds. Crowded hens peck, stress, and stop laying. I’d rather have six peaceful, productive hens than ten grumpy ones plotting a mutiny in a cramped box.
Cheap Upgrades That Make A Big Difference
This is where you turn a simple cheap coop into something your hens thrive in. You don’t need power tools or a workshop. Just a little time and some basic supplies from the hardware aisle.
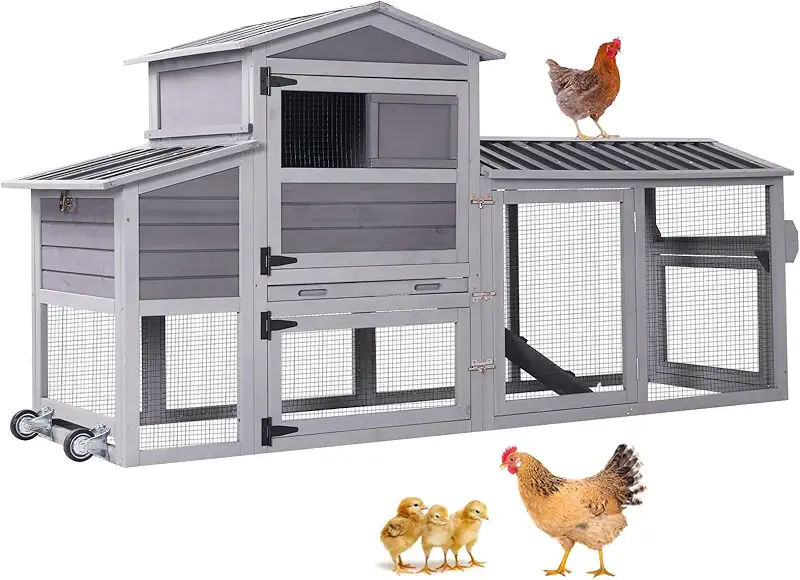
1. Extra Screws And Corner Bracing
Factory‑drilled holes are often a little loose. I like to reinforce key joints with a couple of extra wood screws and, if needed, add a small “L” bracket in each inside corner. Costs a few bucks and keeps the whole structure from racking in the wind.
2. Better Latches
Raccoons are clever little bandits with thumbs. If a child can open your coop latch, so can a coon. Swap out any flimsy hooks for decent latches, and on main doors, I sometimes double up with a carabiner clip.
3. Hardware Cloth Where It Counts
Many cheap coops come with thin chicken wire. That keeps hens in, but not hungry predators out. On lower vents or weak spots, I staple on some hardware cloth. I’ve woken up to plenty of paw prints on the outside of my coops; hardware cloth is the reason I didn’t wake up to a crime scene.
4. A Simple Roof Over The Run
If your coop has a small run attached, a little roof—even just a sloped panel—keeps the ground from turning into a mud pit. Dry feet mean healthier hens and less smell. A scrap of metal roofing or a sheet of corrugated plastic does the job.
5. Sand Or Gravel Base
I like to set my coops on blocks, gravel, or a thick layer of sand. Keeps the bottom from rotting and cuts down on mud. With cheap coops, raising them a few inches off the ground adds years to their life.
Feeding And Caring For Layers In A Budget Coop
A good coop is only half the story. I’ve seen birds do well in all sorts of homemade and store‑bought coops because the keeper cared about the basics: feed, water, and routine.
Feed
For laying hens, stick with a balanced layer feed. I like to keep feed out all day, then pick it up at night to avoid feeding the local mice family. Kitchen scraps are fine in moderation, but the feed is where the real nutrition comes from.
Water
Clean water is one thing you never skimp on. In winter, check for ice at least twice a day. In summer, refill often so it stays cool and fresh. A simple waterer hung at back height keeps it cleaner.
Nesting Boxes And Roosts
Hens like to lay in a dark, quiet spot. For cheap coops with tiny nest boxes, I sometimes add a little curtain of burlap or an extra board to make it cozier. For roosts, a 2x3 board with the wide side flat is easier on their feet than a round dowel.
And here’s one secret: if you want eggs where you can reach them, make the nest boxes the nicest spot in the coop. Every time I’ve skimped on nest boxes, hens have reminded me by hiding eggs in hay bales, flower beds, and once, my tool shelf.
Seasonal Care: Keeping A Cheap Coop Going Year After Year
A cheap coop can last a long time if you treat it like a little barn instead of lawn décor. I have one bargain coop that’s on year seven now, thanks to a few habits.
Spring
I give the coop a good clean‑out, scrub feeders and waterers, and check every joint and hinge. This is when I tighten screws and touch up any spots where the wood looks tired. A quick coat of outdoor paint or sealer goes a long way.
Summer
Heat and flies are the enemy. I make sure those vents are clear, sometimes prop the door open with a screen on hot days, and keep bedding dry. If I walk in and my nose curls, I clean. Your nose is a good inspector—if it smells bad to you, it’s worse for the hens.
Fall
Right before the cold hits, I check for drafts at roost level and block them, while keeping high vents open. I add extra bedding for insulation and make sure the roof is tight. Nothing wakes you up like hearing rain and wondering if it’s also raining inside the coop.
Winter
In winter, I use the “dry and draft‑free” rule. I don’t try to make the coop warm like a house; I just keep it out of the wind and moisture. Deep bedding, good vents up high, and no damp corners. Hens handle cold better than damp and drafty every single time.
FAQ: Cheap Coops And Happy Hens
When you’re ready to look at more options, take your time, trust your gut, and picture your hens roosting calm and cozy inside. That picture is worth more than any fancy ad.
I’ll browse coops now