
Cheap chicken coop near me
cheap chicken coop near me
When neighbors ask me, “How do I find a cheap chicken coop near me that actually holds up?”, I usually smile and say, “Well, I’ve already made all the mistakes so you don’t have to.”
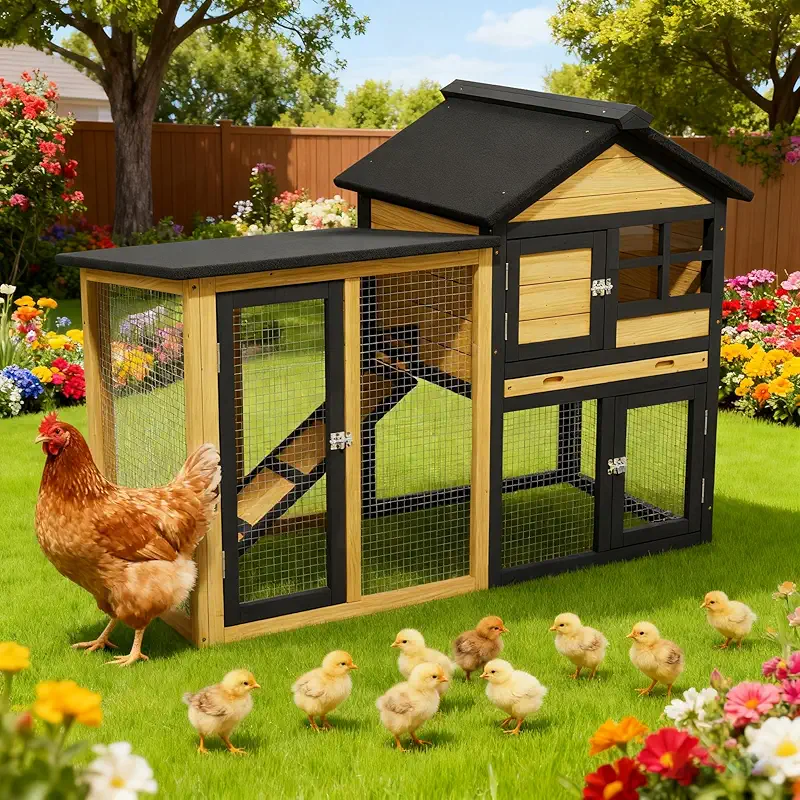
I’ve raised laying hens for decades on our little patch of land here in the States. Some of my early “budget coops” were more like comedy shows. One leaned so far in the wind that the hens refused to clock in for egg duty.
Over the years, I learned how to spot a good affordable coop, what corners you can safely cut, and what corners will cost you birds, eggs, and sleep. On this page I’ll walk you through how I’d shop today if I were hunting for a cheap chicken coop near me, and how to keep your girls laying steady without draining your wallet.
What “cheap chicken coop near me” should really mean
When folks say they want a cheap chicken coop, they’re usually talking about price. As an old farmer, when I say “cheap” I mean something different: low cost for the amount of work it does.
A coop that falls apart after one winter, or lets a raccoon in even once, isn’t cheap at all. It’s just expensive in slow motion. So let’s set the ground rules for what a truly good budget coop must do.
- Keep hens dry in rain and snow.
- Stop wind from blasting straight through at roost level.
- Have enough space so birds aren’t stressed and pecking tails.
- Let fresh air move without turning it into a drafty barn.
- Stand up to basic predators: raccoons, dogs, possums, hawks.
If a coop checks those boxes, then we can start talking about cheap. Maybe it uses thinner lumber or a simpler design, but it still does the job. That’s the sweet spot.
How I compare affordable coops online
These days, when I look for a cheap chicken coop near me, I don’t jump in the truck and drive around. I pour some coffee, sit at the kitchen table, and click through options like anyone else. But I look at them like a farmer, not a decorator.
1. Real space per hen
Ads love to say “up to 8 chickens.” I trust that about as much as I trust a fox with a key to the coop. For standard laying hens, I use my own rule of thumb:
- Inside coop: 3–4 square feet per hen.
- Run/outdoor pen: 8–10 square feet per hen.
So if a listing says “up to 8 chickens,” I treat it as 4 or 5 hens, tops. Crowded hens lay less and fight more.
2. Roof and floor first
I’ve had a cheap coop where the roof leaked right over the roost. Wet hens are unhappy hens, and unhappy hens stop laying.
Look for a simple, sloped roof with decent overlap and a floor that’s off the ground a bit. You don’t need fancy shingles, just something that sheds water and doesn’t turn into mush the first wet spring.
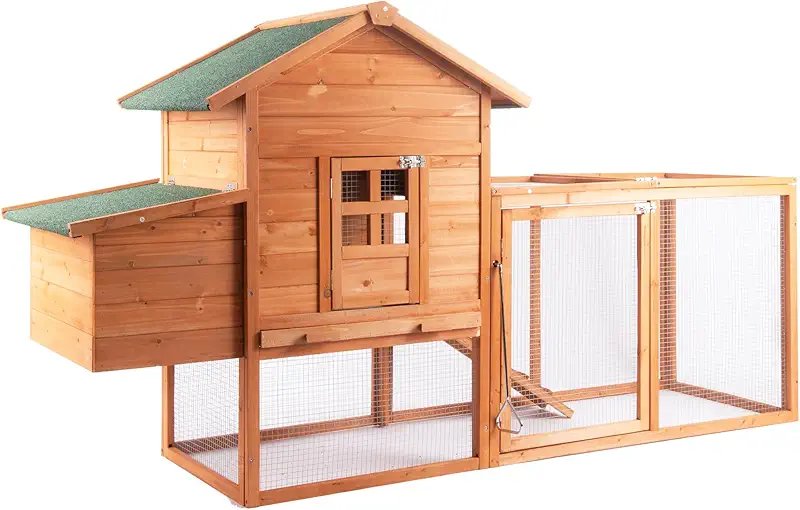
3. Predator proofing on a budget
Out here, raccoons are smarter than some folks I’ve worked with. They can open weak latches like it’s nothing.
- Look for two-step latches or spots where you can add a carabiner.
- Check that the wire is hardware cloth, not flimsy chicken wire, at least around the lower panels.
- Make sure door gaps are small enough that a raccoon hand can’t slip in.
If a coop looks good but needs better latches, that’s a cheap fix. Just don’t ignore it.
4. Easy cleaning and egg access
I don’t mind shoveling manure. I do mind crawling on my knees inside a tiny coop to do it.
For a truly practical cheap coop:
- Make sure you can reach every corner with a scraper or shovel.
- Check that nest boxes open from outside or from a big door.
- Look for smooth floors, not a maze of little gaps.
Wood, wire, and roofs: what really matters
When I scroll through affordable coops, I’m not impressed by cute windows or fancy paint. I’m looking at three things first: the wood, the wire, and the roof.
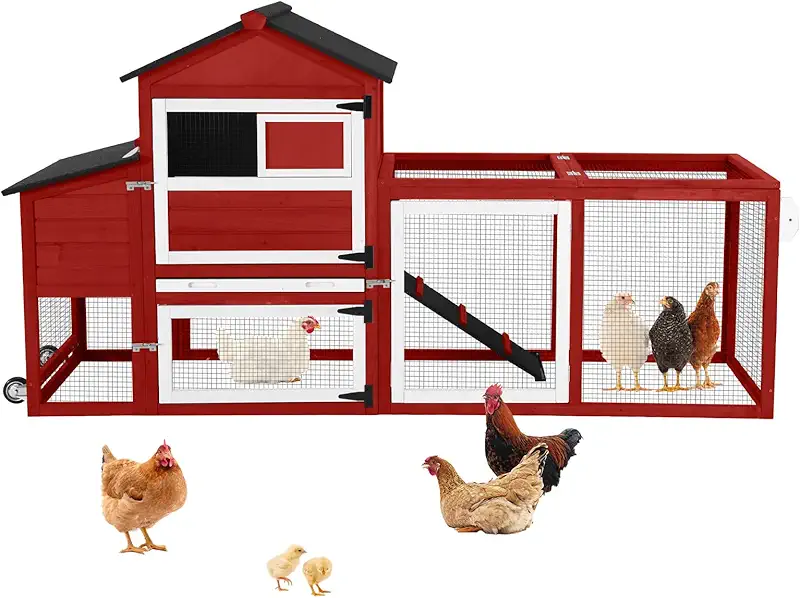
Wood: light doesn’t mean useless
Many cheap coops use thin softwood panels. That’s fine if you understand the limits. I’ve used plenty of them. The trick is to:
- Keep them out of direct standing water.
- Brace wobbly spots with a few extra screws.
- Add a coat of exterior paint or sealer when you can.
Do that, and even a budget frame can last several seasons. Leave it raw and sitting in mud, and you’ll have firewood by fall.
Wire: chicken wire vs hardware cloth
Here’s where I don’t like to skimp. Chicken wire keeps chickens in, but it doesn’t keep predators out. Hardware cloth is much stronger.
On a tight budget, I do this:
- Use hardware cloth around the bottom 2–3 feet of the run.
- Use cheaper wire or existing fencing higher up where predators can’t easily reach through.
- Add a wire “apron” laid flat on the ground around the run to slow down diggers.
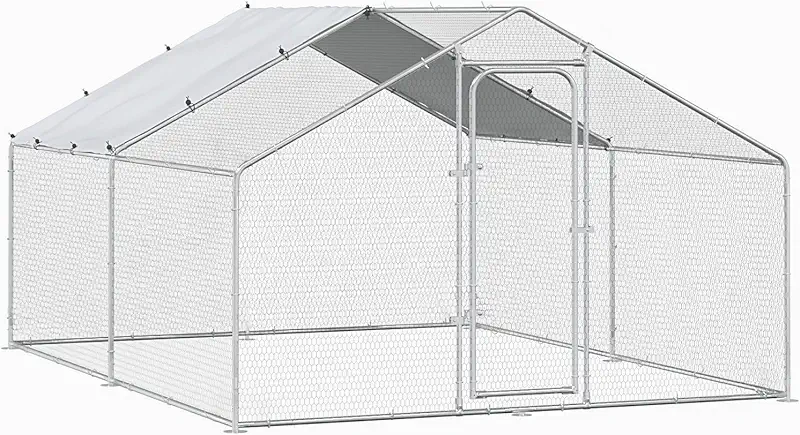
Roofs: think rain, not magazine photos
A simple metal or asphalt-style roof beats a pretty flat one every time. If water can pool, it will leak.
I like to see:
- A clear slope so water runs off fast.
- Enough overhang to keep water from blowing straight into the pop door.
- No big flat seams right above roosts.
If you ever step into the coop and smell mildew, that’s your roof tattling on you.
My favorite layouts for small backyards
Most folks looking for a cheap chicken coop near me only keep 4–8 hens and don’t have acres to spare. I’ve helped a lot of neighbors set up small backyard flocks, and a few layouts keep rising to the top.
A-frame with attached run
This is one of my favorite “starter” styles. Picture a little triangle house with a run under and beside it.
- Good for 3–5 hens.
- Easy to move if you keep it light.
- Simple to cover with a tarp in rough weather.
Just don’t believe every “up to 8 chickens” claim on these. That’s chicken math, not real math.
Box coop with side run
This looks like a rectangle house with a rectangular pen off one side. I use something like this for one of my side flocks.
- Easy to insulate one wall if your winters are harsh.
- Plenty of flat surfaces to add roosts or hooks.
- Usually easier to clean than tall narrow coops.
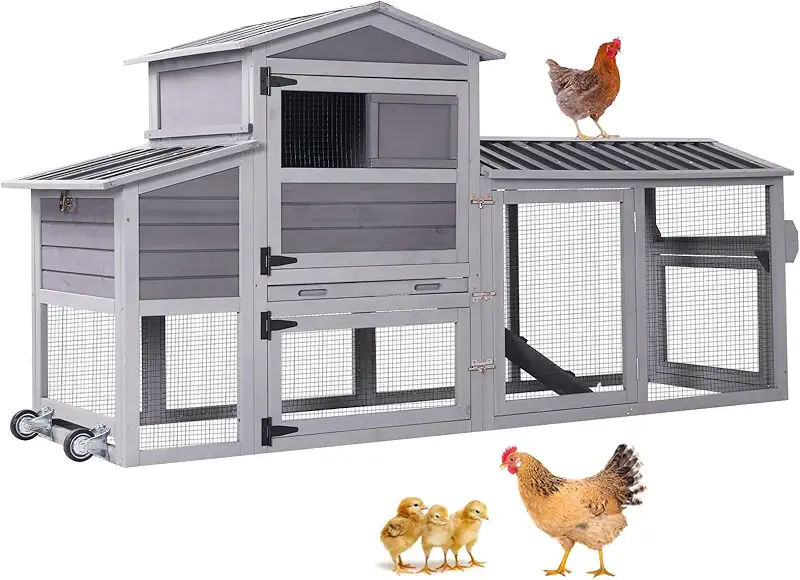
No matter the layout, remember that your birds will spend a lot of time in that run, especially on busy weekdays. A few old logs, some stumps, or a hanging cabbage can turn a plain run into a chicken playground for free.
My personal “cheap but safe” buying strategy
When I’m helping someone pick a coop on a budget, I treat it like building a barn out of puzzle pieces. The coop gives you the frame, and you add the strength where it counts.
Step 1: Let the coop be the shell
I don’t expect a budget coop to be perfect out of the box. I expect it to be a good starting point that saves me time.
My mindset is:
- Use the included frame, doors, and roof.
- Add screws where panels feel wobbly.
- Plan on improving latches and wire.
Step 2: Spend where the hens sleep
Birds spend every night in that coop. That’s where I focus my upgrades:
- Extra latch or carabiner on every door.
- A strip of hardware cloth over any large gaps.
- Dry bedding and slightly elevated roosts.
These are simple, cheap fixes that turn a light coop into a safe home.
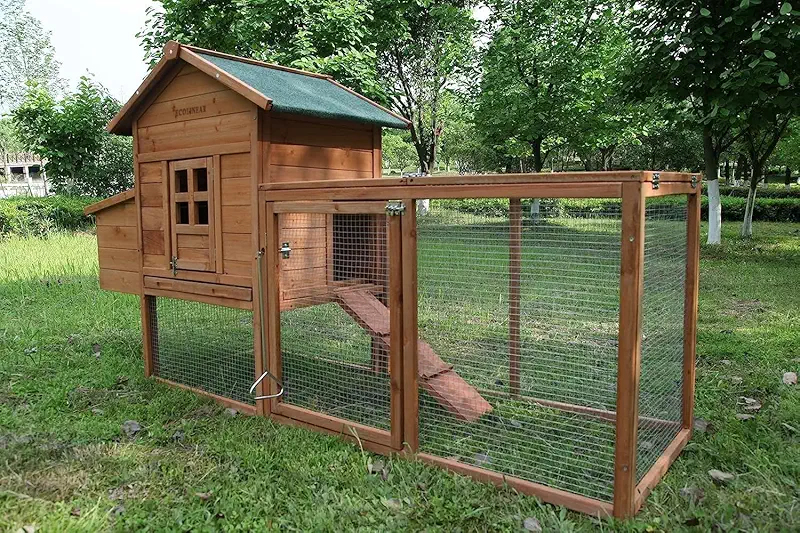
I like to say, “Let the manufacturer cut the boards, and you add the brains.” That way you stay on budget and still sleep at night.
Keeping your laying hens happy in a cheap coop
A fancy coop won’t fix poor chicken care, and a basic coop won’t hurt good care. The birds care more about comfort than style.
Ventilation without drafts
Hens breathe out a lot of moisture, and that rises up at night. If the coop has no vents, you’ll get damp bedding, frosty combs, and sick birds, especially in winter.
In my coops, I aim for:
- Vents high up, near the roof.
- Roosts placed lower so the wind doesn’t blow straight on them.
- Screened openings that can be partly closed in rough weather.
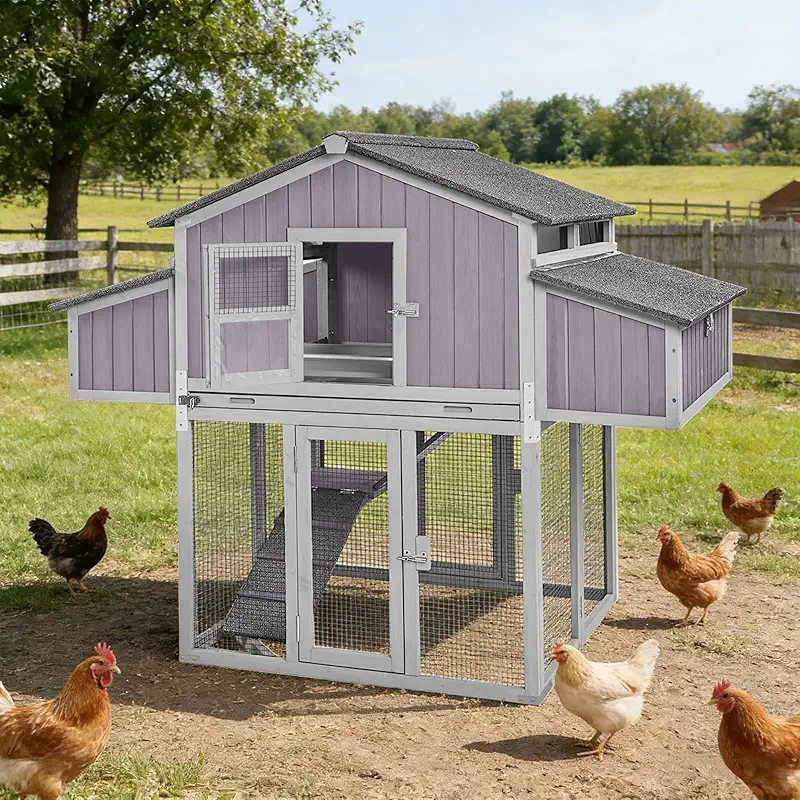
Nesting boxes: keep it simple
Hens aren’t fussy decorators. They just want a dark, quiet box with clean bedding. I like:
- One box for every 3–4 hens.
- Enough lip to keep bedding from spilling out.
- Easy outside access so you can grab eggs without a wrestling match.
I’ve used everything from store-bought nest boxes to old milk crates and wooden crates. The hens don’t care what you paid, only how it feels.
Common mistakes when hunting for a cheap chicken coop near me
After watching a lot of new chicken keepers over the years, I see the same slip-ups again and again. None of them are fatal, but they sure cause headaches.
-
Believing the “number of chickens” in the ad.
Always do your own math using the space guidelines I mentioned. Your hens will thank you with more eggs and less drama. -
Putting the coop in a low, soggy spot.
Chickens hate mud as much as we do. A cheap coop on high, well-drained ground is better than an expensive one sitting in a puddle. -
Ignoring the wind direction.
Try to place the main pop door and big vents away from your worst winter winds. I learned this the hard way one February. -
Underestimating predators.
If you think, “Nothing ever comes in my yard,” just wait until your hens move in. Word gets around in the animal world. -
Skipping small upgrades.
A few dollars in latches and screws turn a wobbly budget coop into a solid one. That’s where “cheap” stops being “risky.”
Real-life results from a budget coop
A couple of years back, a friend down the road wanted a small flock. Money was tight, but they wanted fresh eggs and a project for the kids.
We found a modest coop online, nothing fancy, just a plain little house with a run. Looked nice enough, but I could see right away: light lumber, weak latches, basic wire. Perfect – as long as we treated it like a starting point.
We spent one Saturday:
- Adding extra screws along the frame.
- Covering the lower half of the run with hardware cloth.
- Putting carabiners on every door latch.
- Setting it on blocks so the floor stayed dry.
That coop has now seen icy rain, hot summers, and a raccoon that still walks the fence line at night. The hens are fine, the kids are hooked on gathering eggs, and the whole thing cost less than many “deluxe” coops that aren’t half as secure.
That’s what I mean when I say a cheap chicken coop near me can still be a good coop. It just needs a little farmer’s touch.
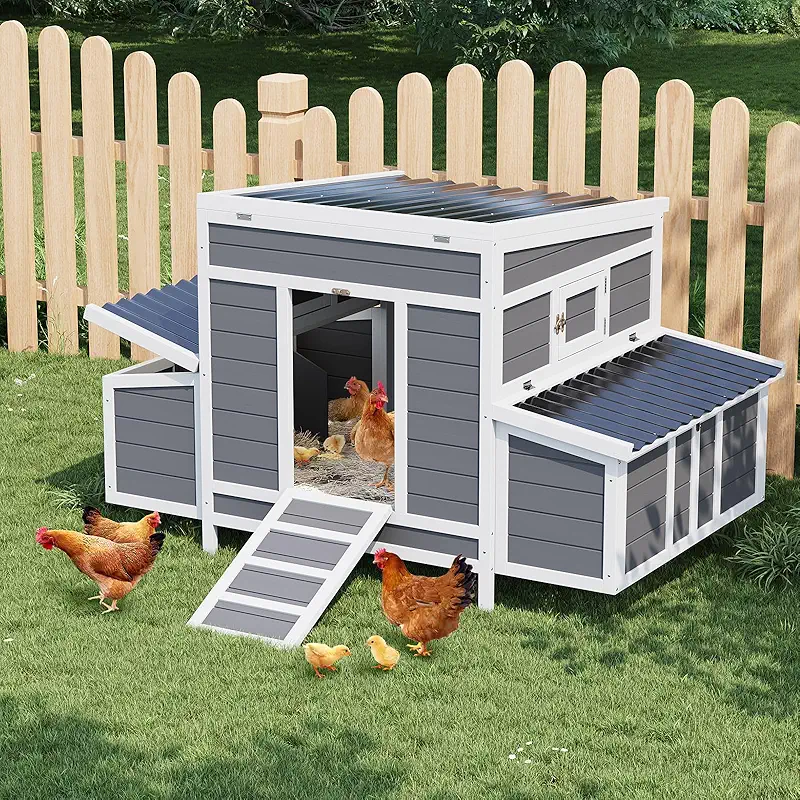
FAQ about finding a cheap chicken coop near me
For standard laying hens, I like 3–4 square feet per bird inside the coop and 8–10 square feet per bird in the run. So if a coop measures about 4x6 feet inside (24 square feet), I’d keep 5–7 hens at most, and fewer if your winters are long and birds spend more time indoors.
They can be, if you treat them as a frame to improve instead of a finished barn. I almost always add extra screws, better latches, and some hardware cloth in the weak spots. That way you still save time and money, but your birds are safer.
Hens handle cold better than damp. A basic coop with a dry floor, decent bedding, no drafts on the roost, and some high vents will carry birds through most American winters just fine. In very cold regions, I block the windiest walls and add extra bedding rather than plugging every vent.
Start with the doors: add solid latches and a secondary clip or carabiner on every opening. Then focus on the bottom 2–3 feet of the run: use hardware cloth there and add a flat wire “apron” on the ground all around the perimeter. Finally, close the birds in the coop at night. That habit alone has saved more hens than any gadget I’ve ever tried.
For most small backyards, a simple raised box coop with an attached run is hard to beat. It’s easy to clean, easy to reach eggs, and you can move it if you really need to. As long as you give each hen enough room and add a few basic upgrades, it’ll do the job without fuss or drama.
If you’re ready to look at real options, take your time, picture your birds inside each coop, and remember: a little common sense adds more safety than a big price tag.